Regular price
$4.50 AUD
Regular price
Sale price
$4.50 AUD
DFROBOT DFR0017
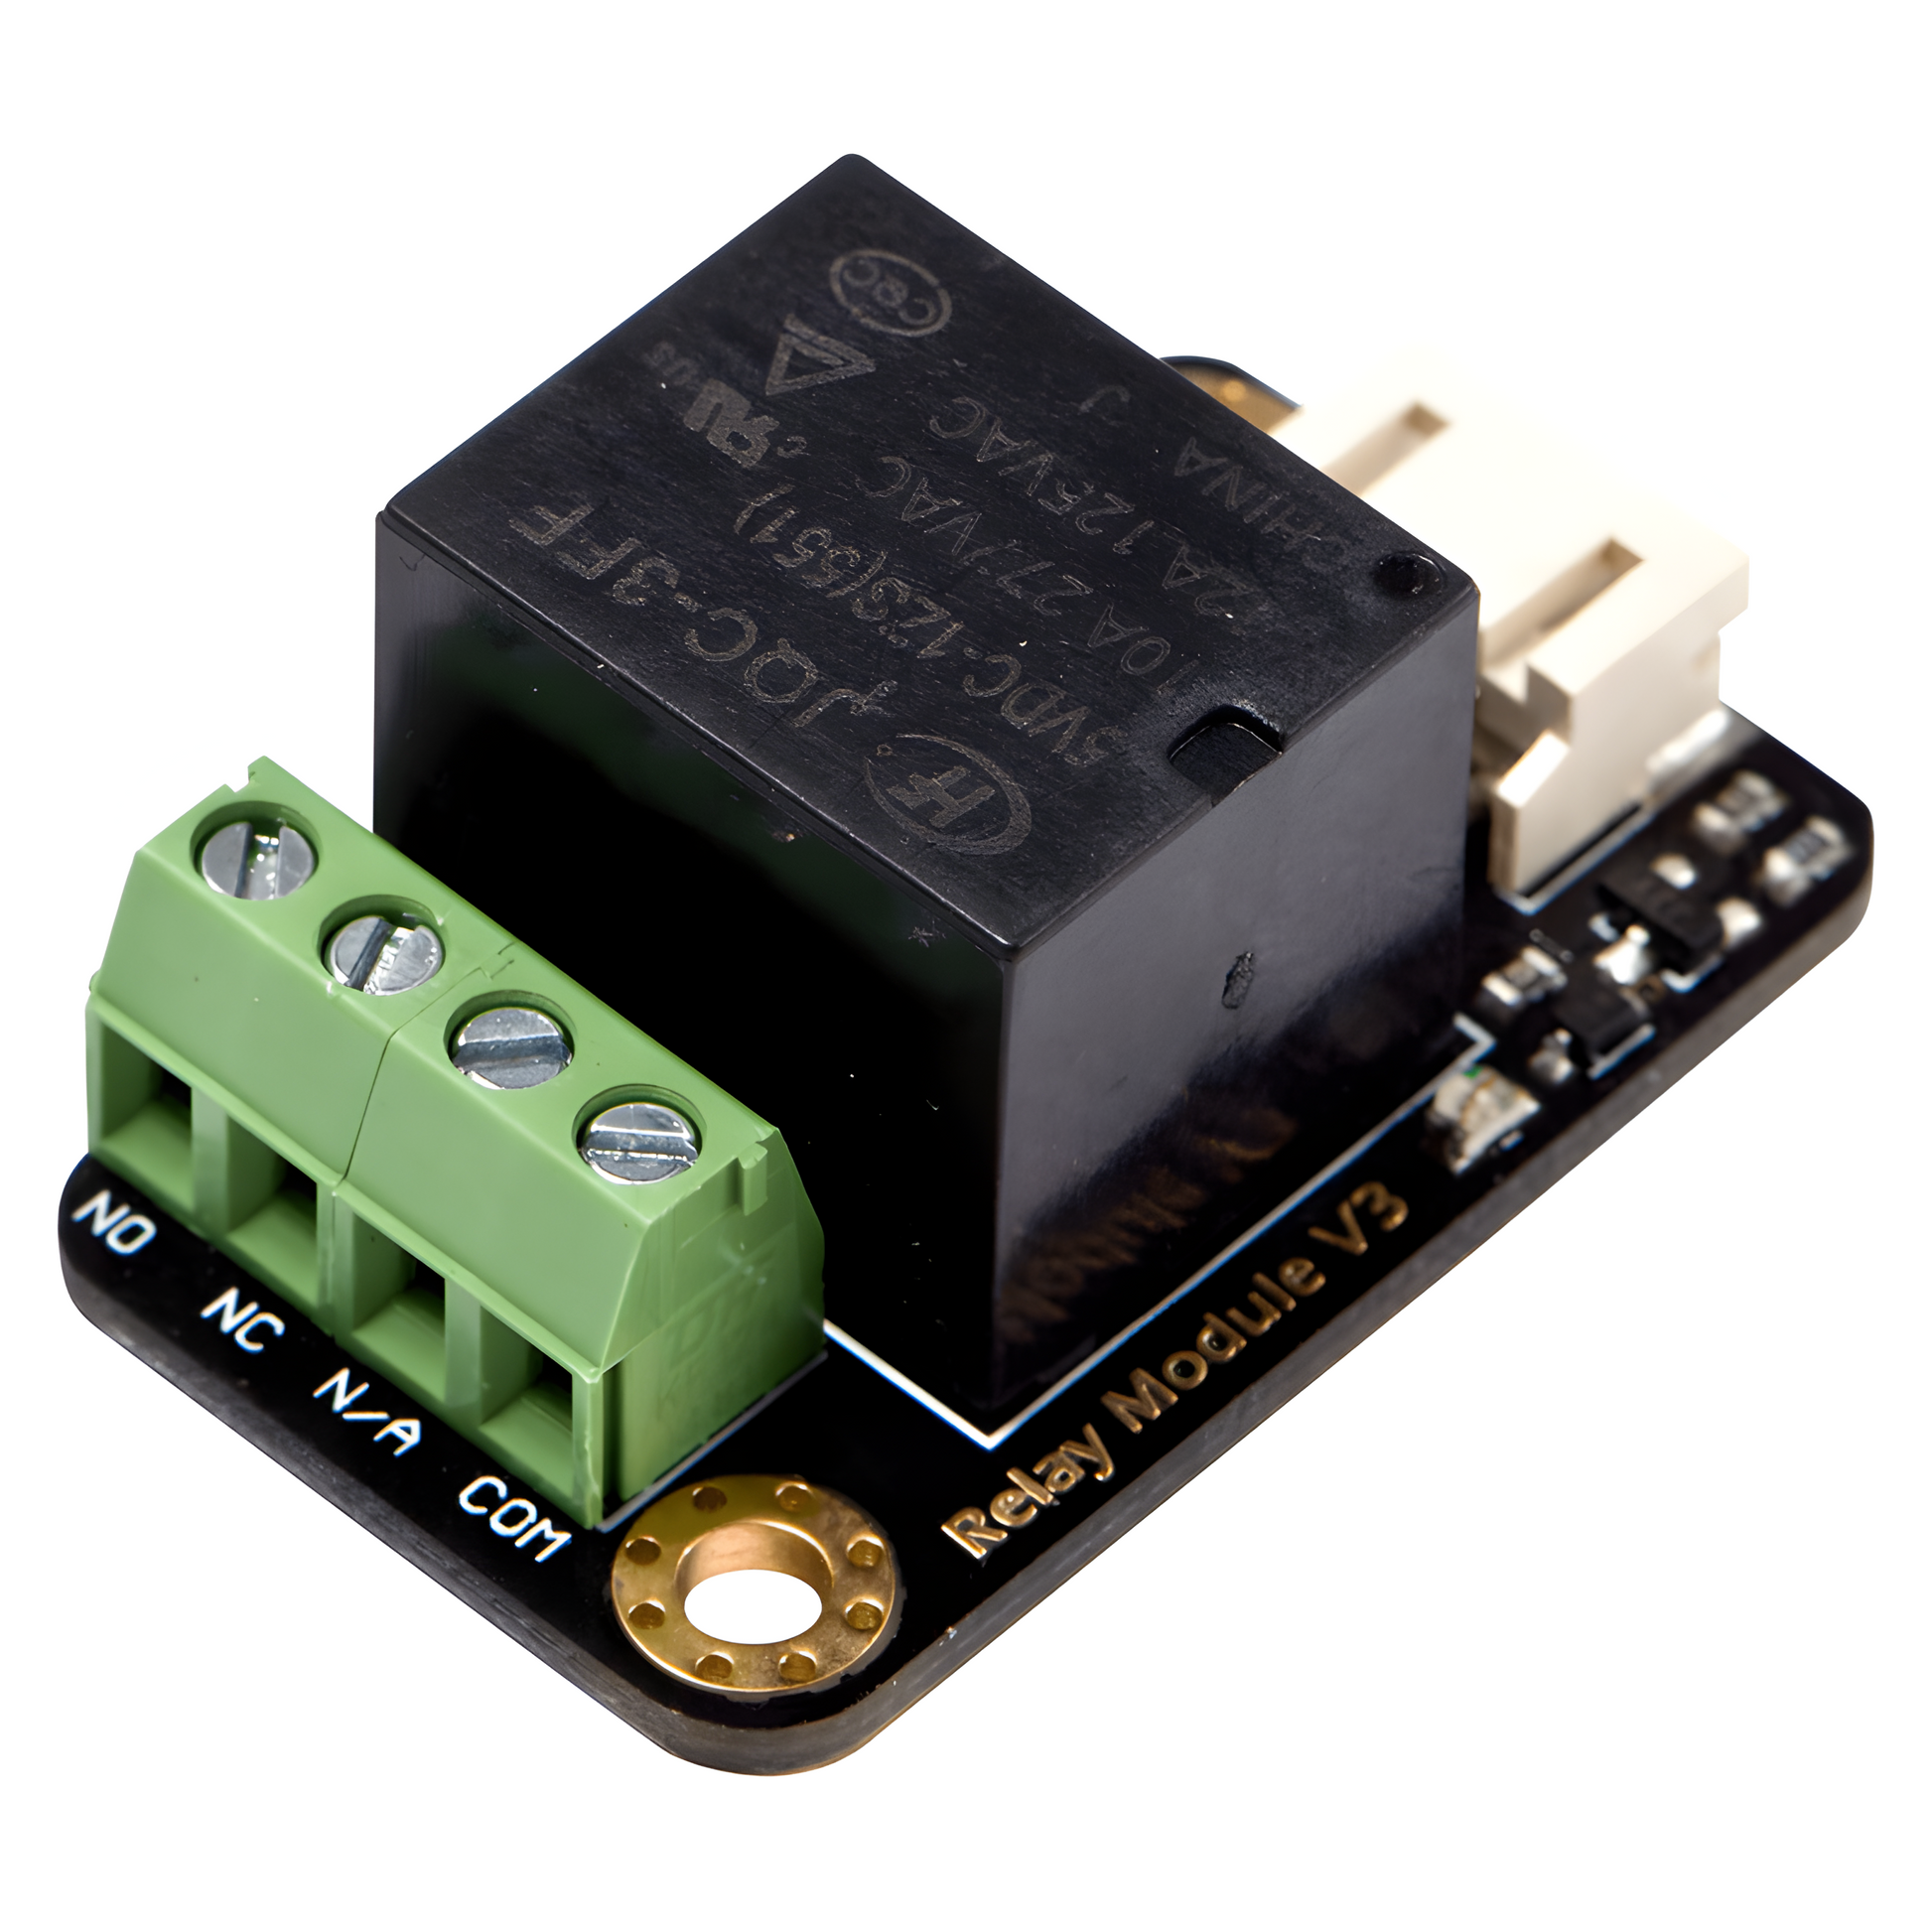
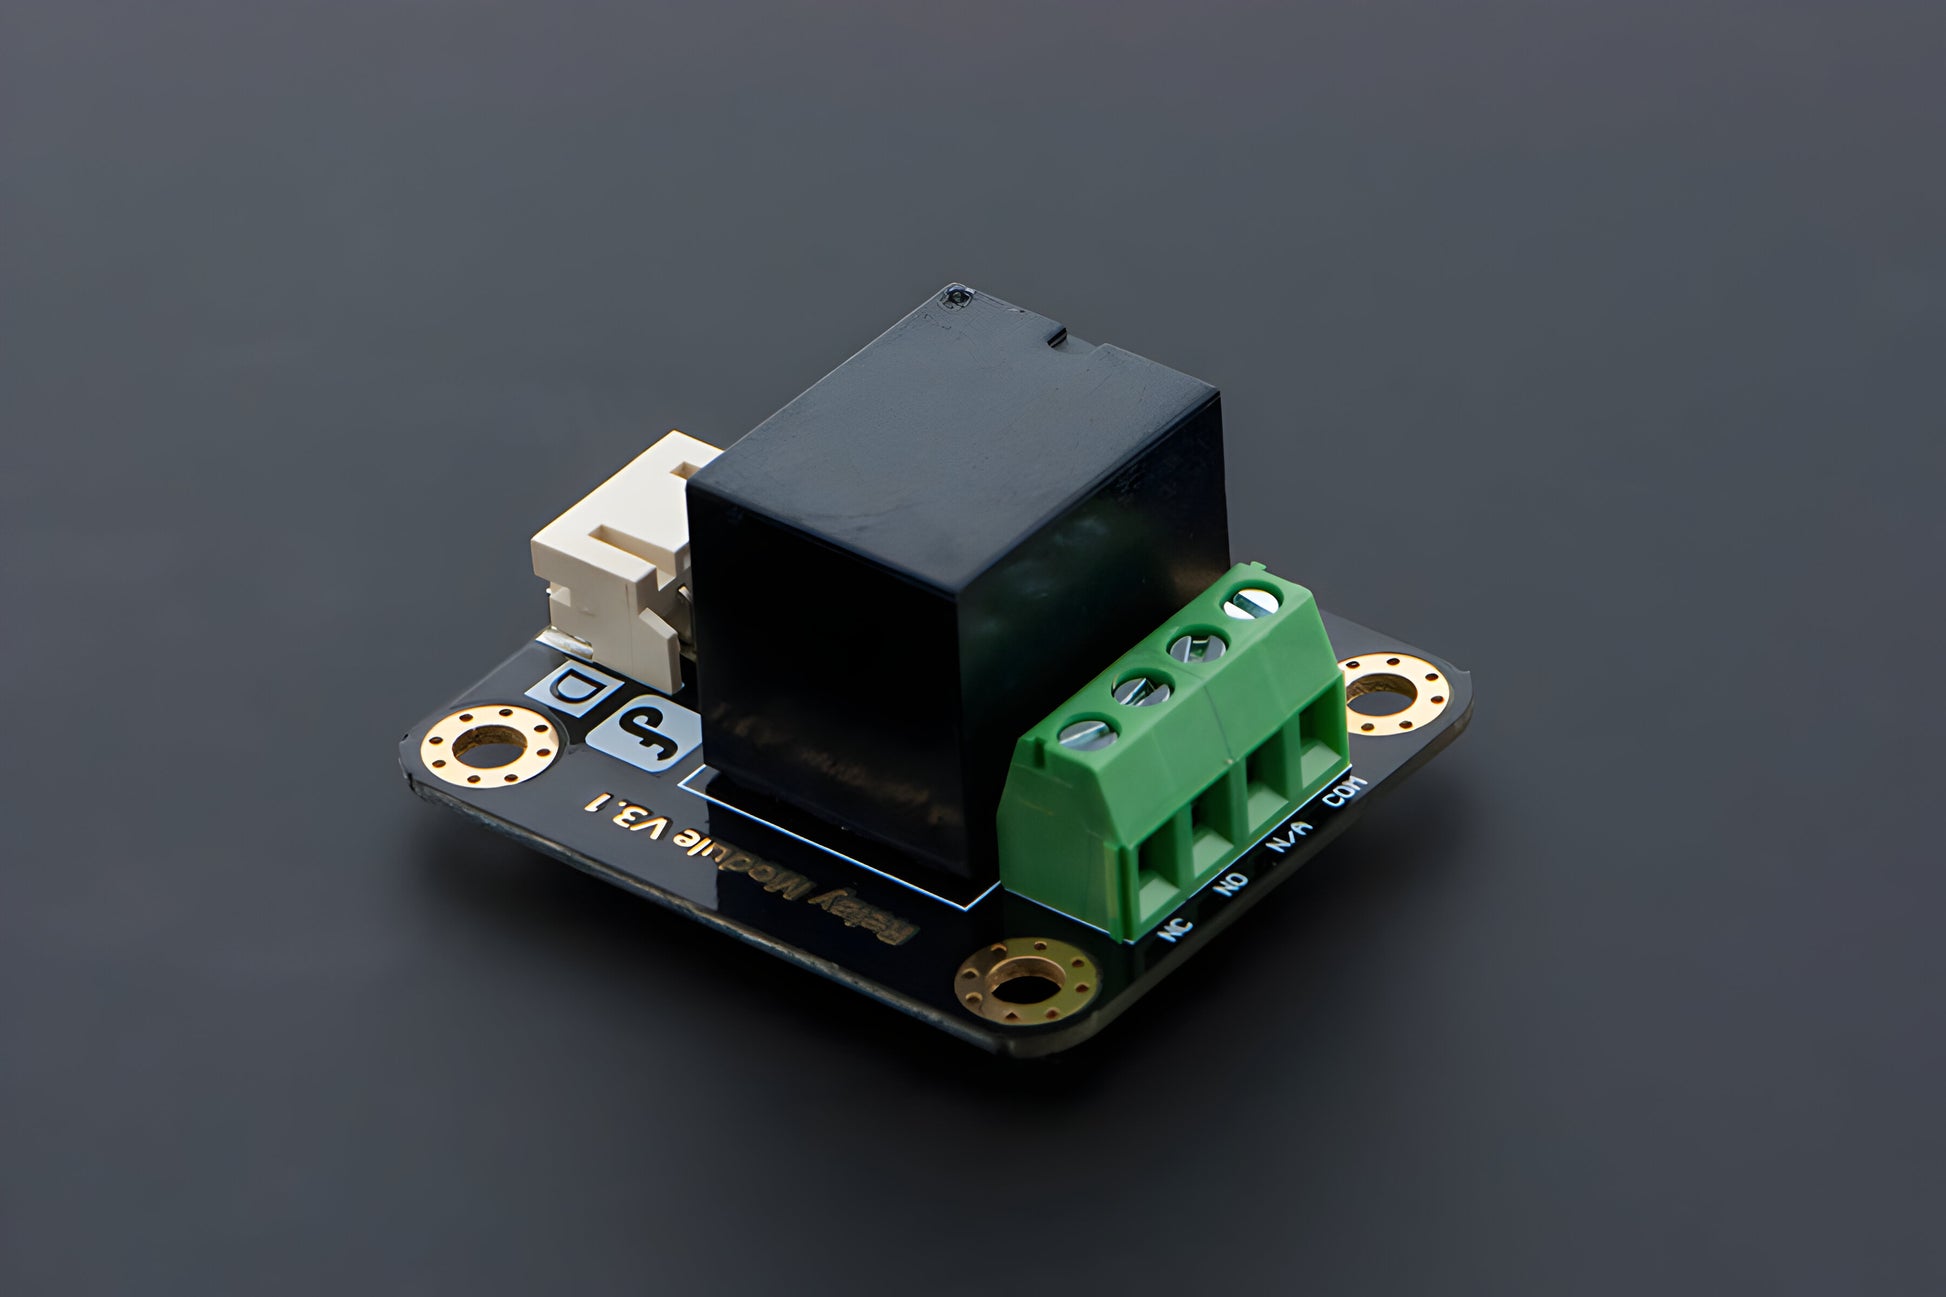
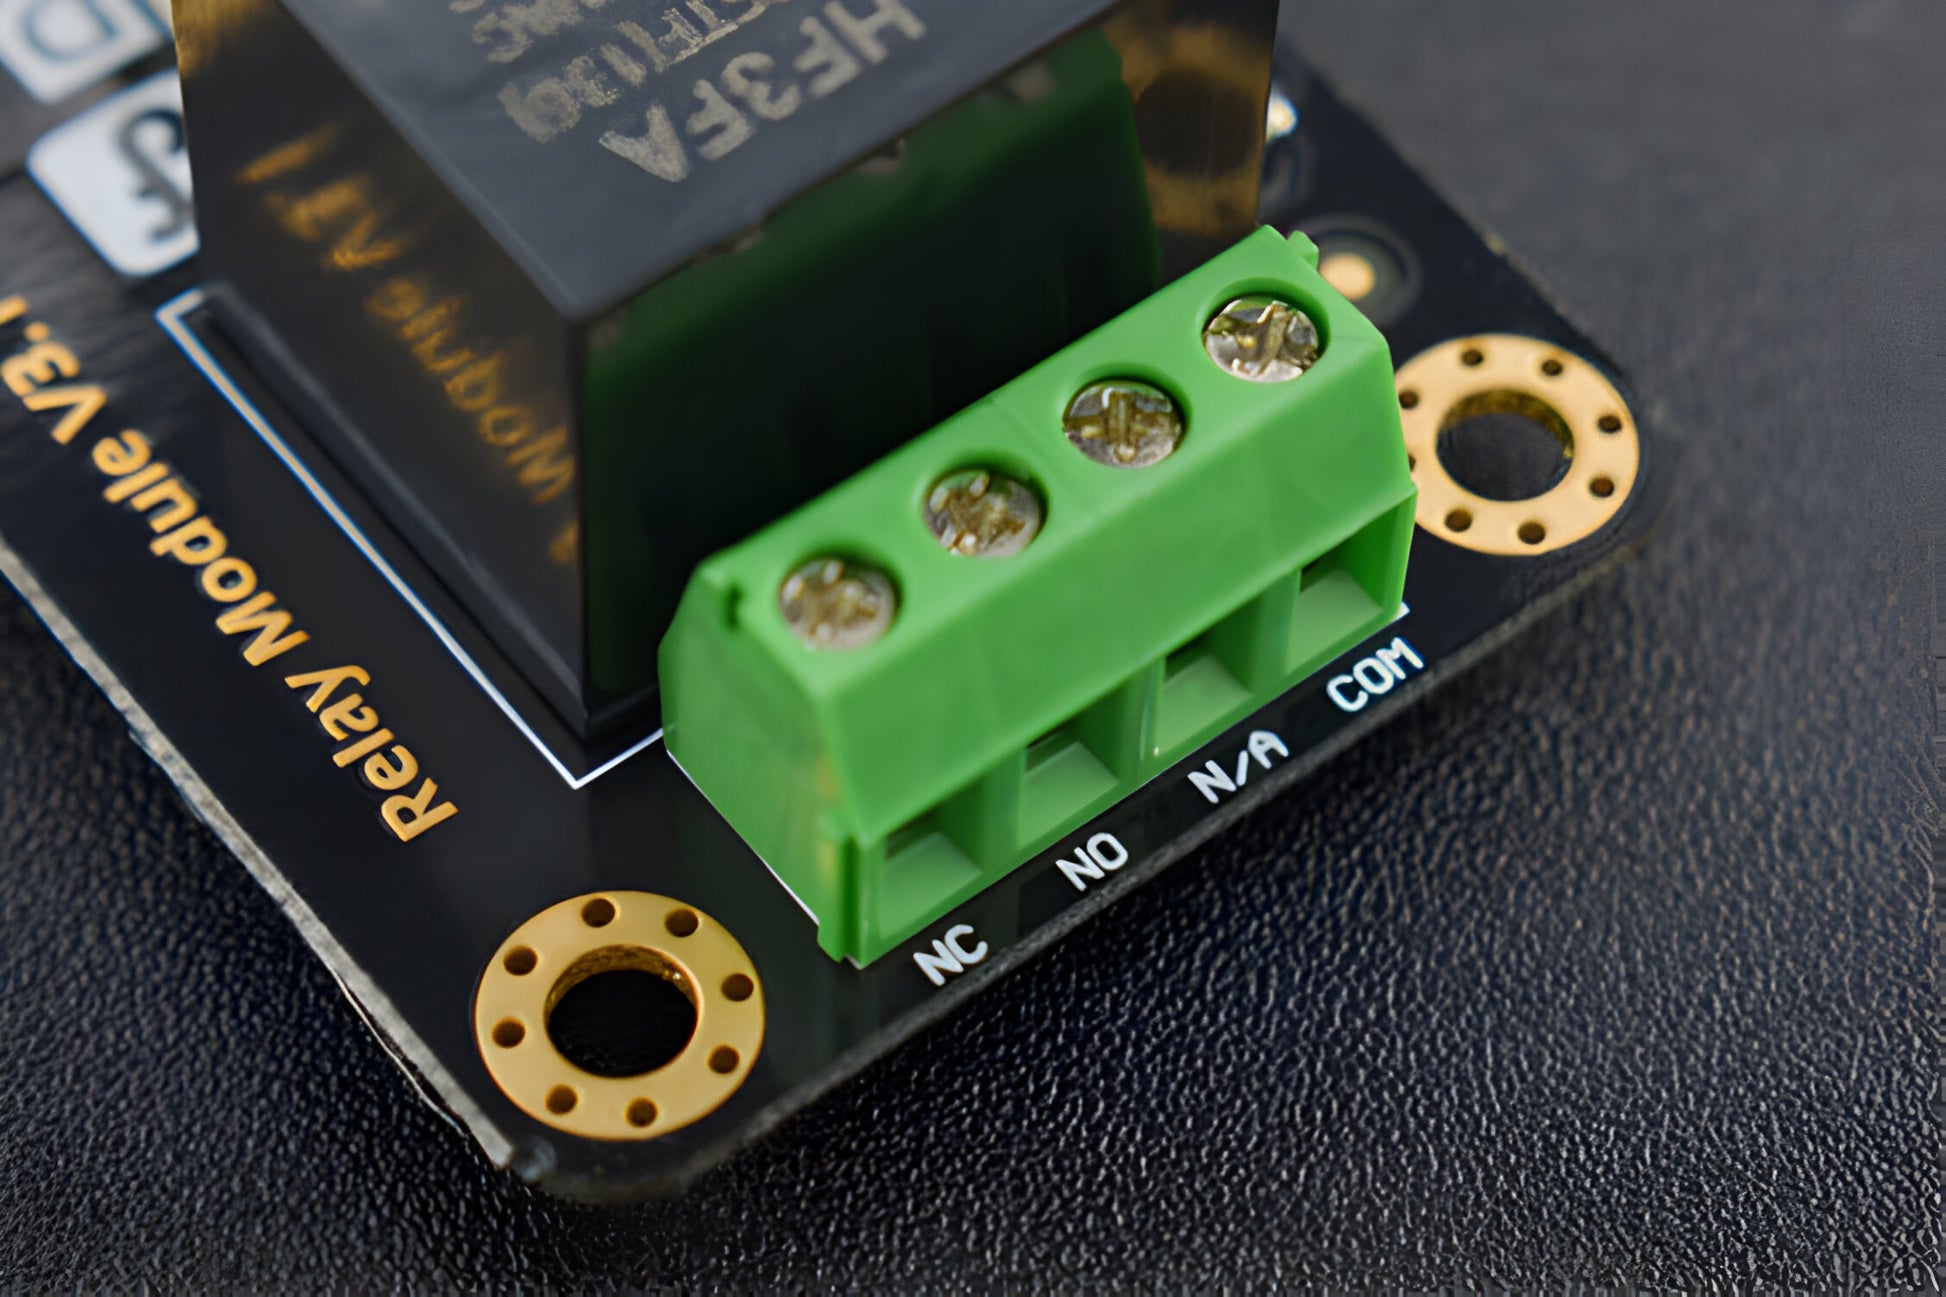
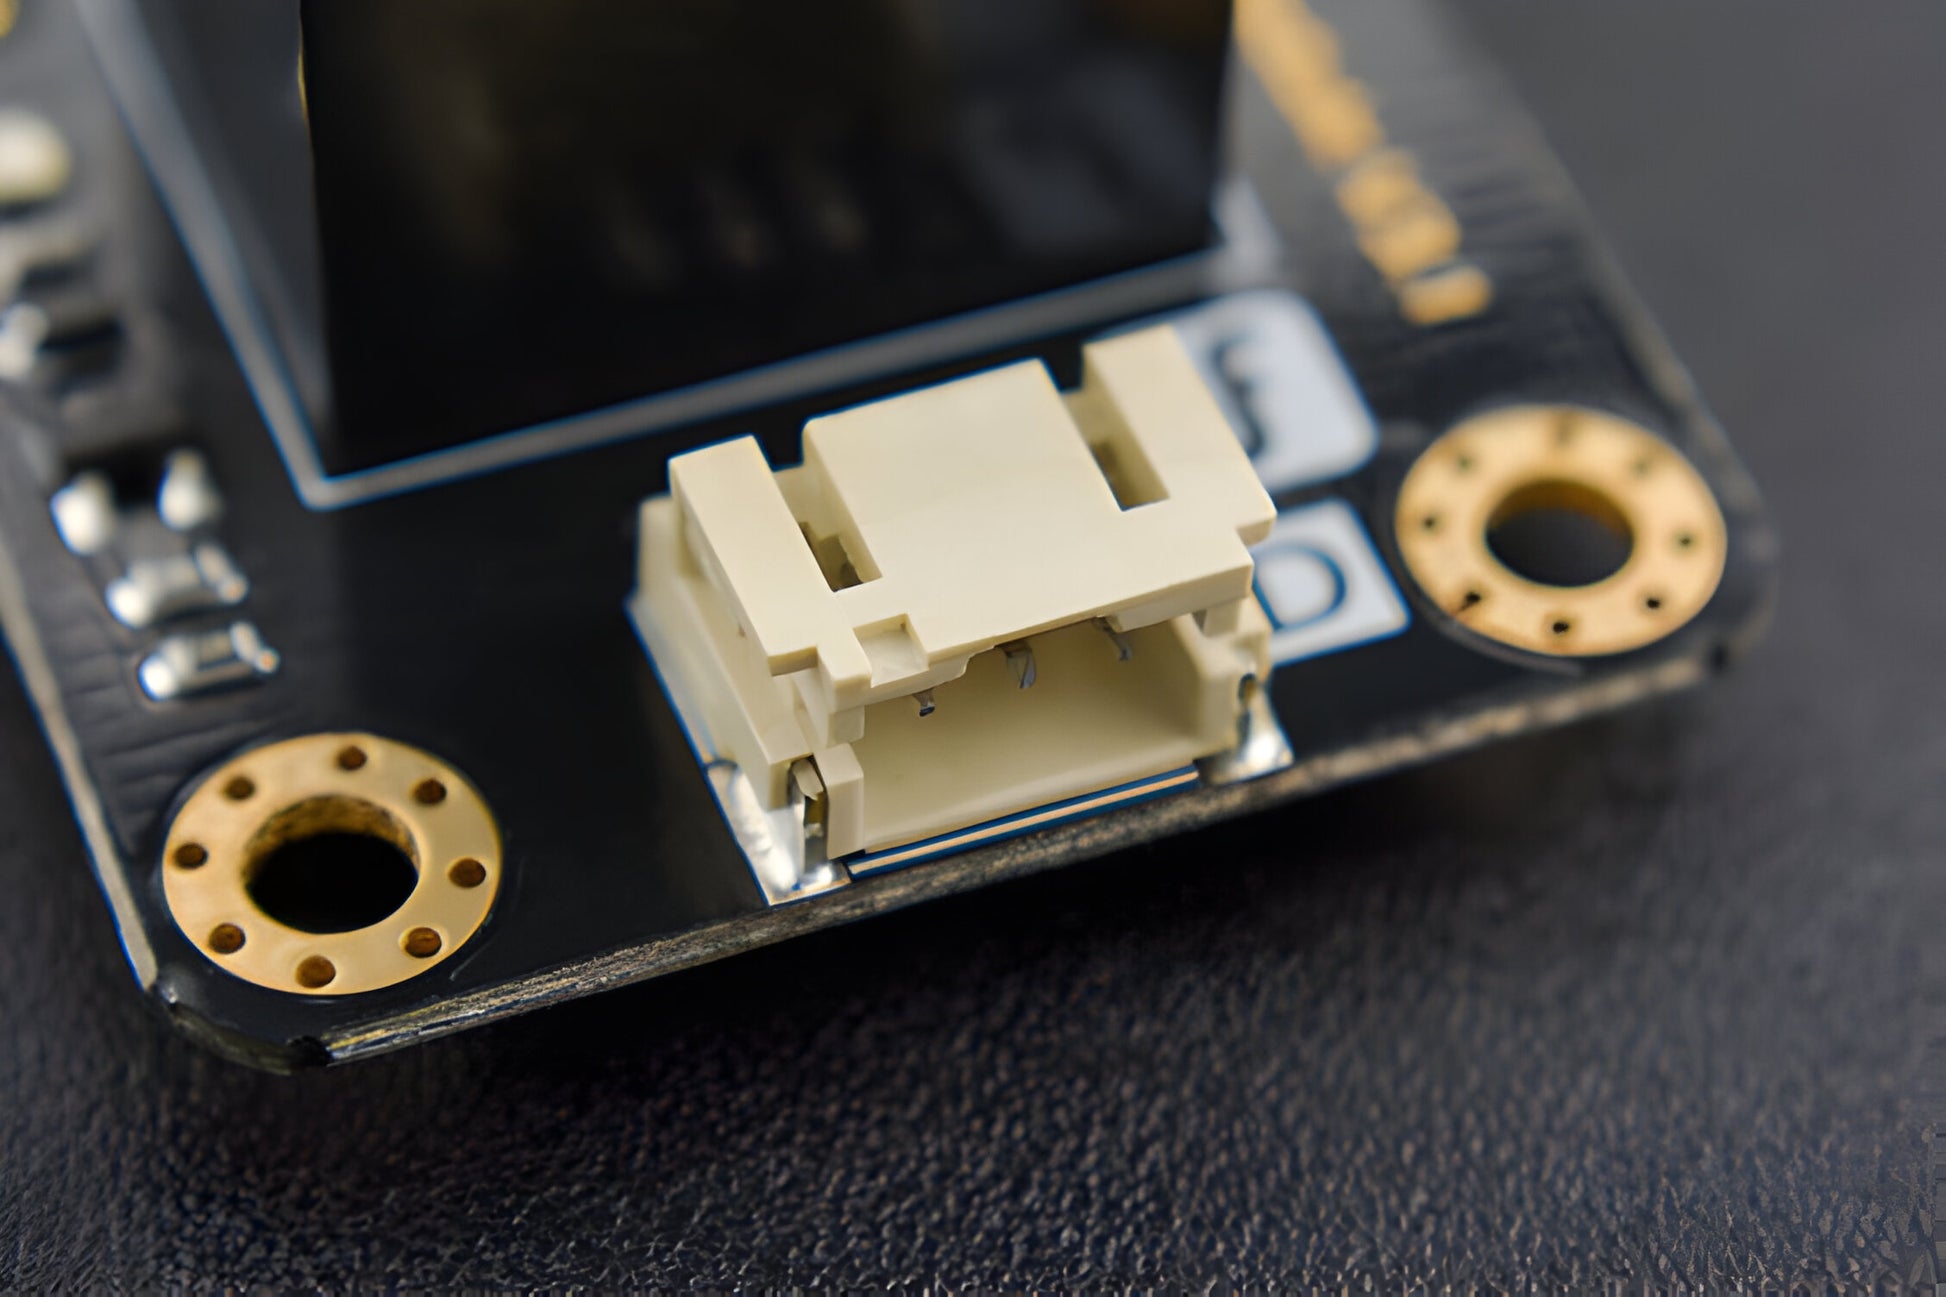
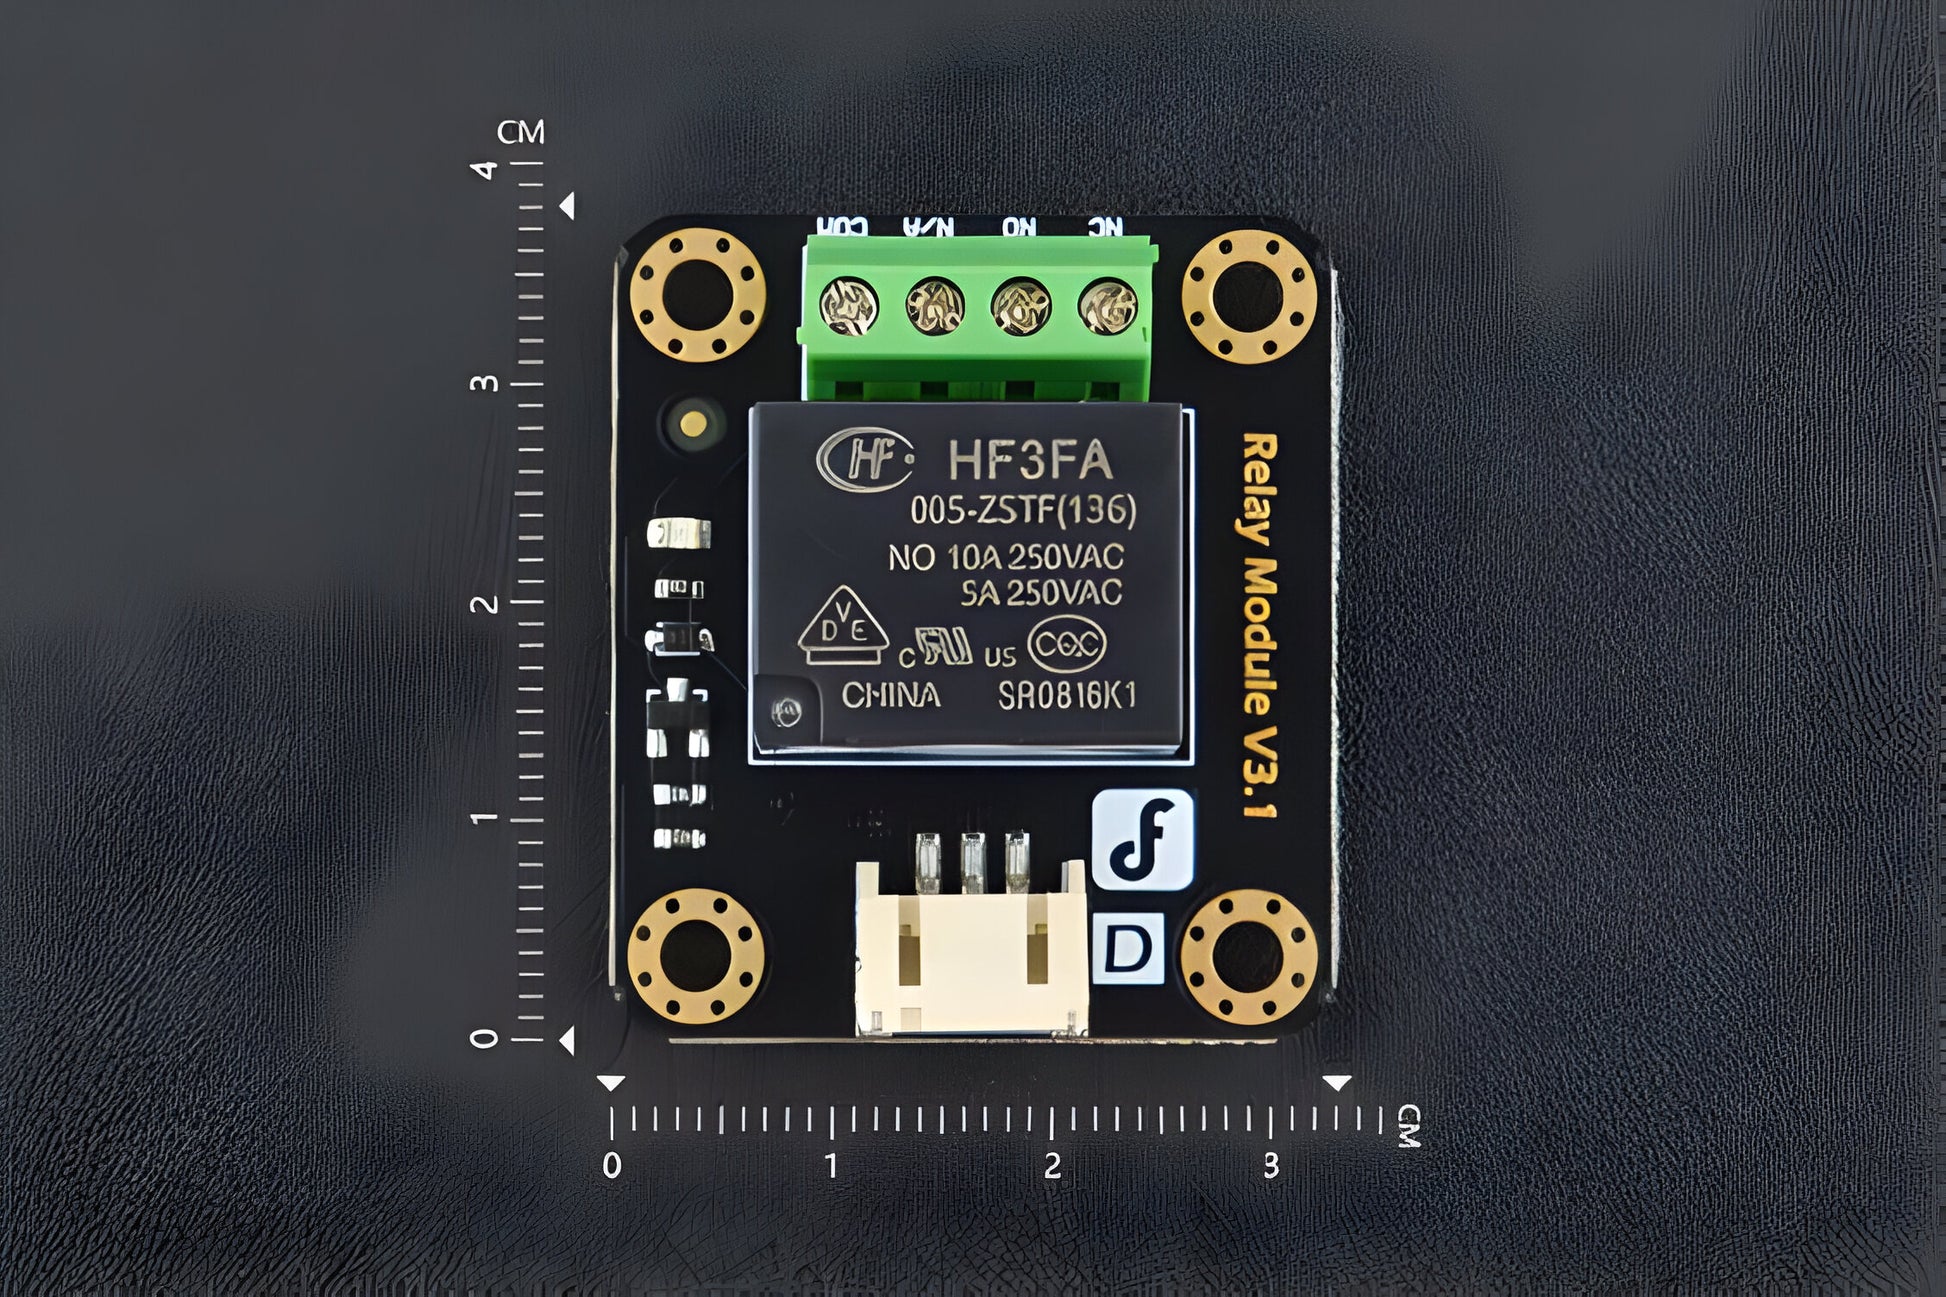
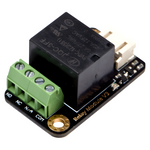
The DFRobot Relay Module is a standard relay used with a controller board to interface external electrical circuits or modules. Some of the most common applications with Arduino are: Home lighting, electrical appliances of high power and other equipments. The modular design makes it easy to integrate with a controller board. The Relay integrates a status LED, in order to acknowledge visually it's status ON or OFF. It can be controlled through the digital IO port, with a simple HIGH or LOW on Arduino compatible boards. Other boards will work requiring same voltage level. Other usages include control of solenoid valves, lamps, motors and other high current or high voltage devices.
Latest Update: V3.1
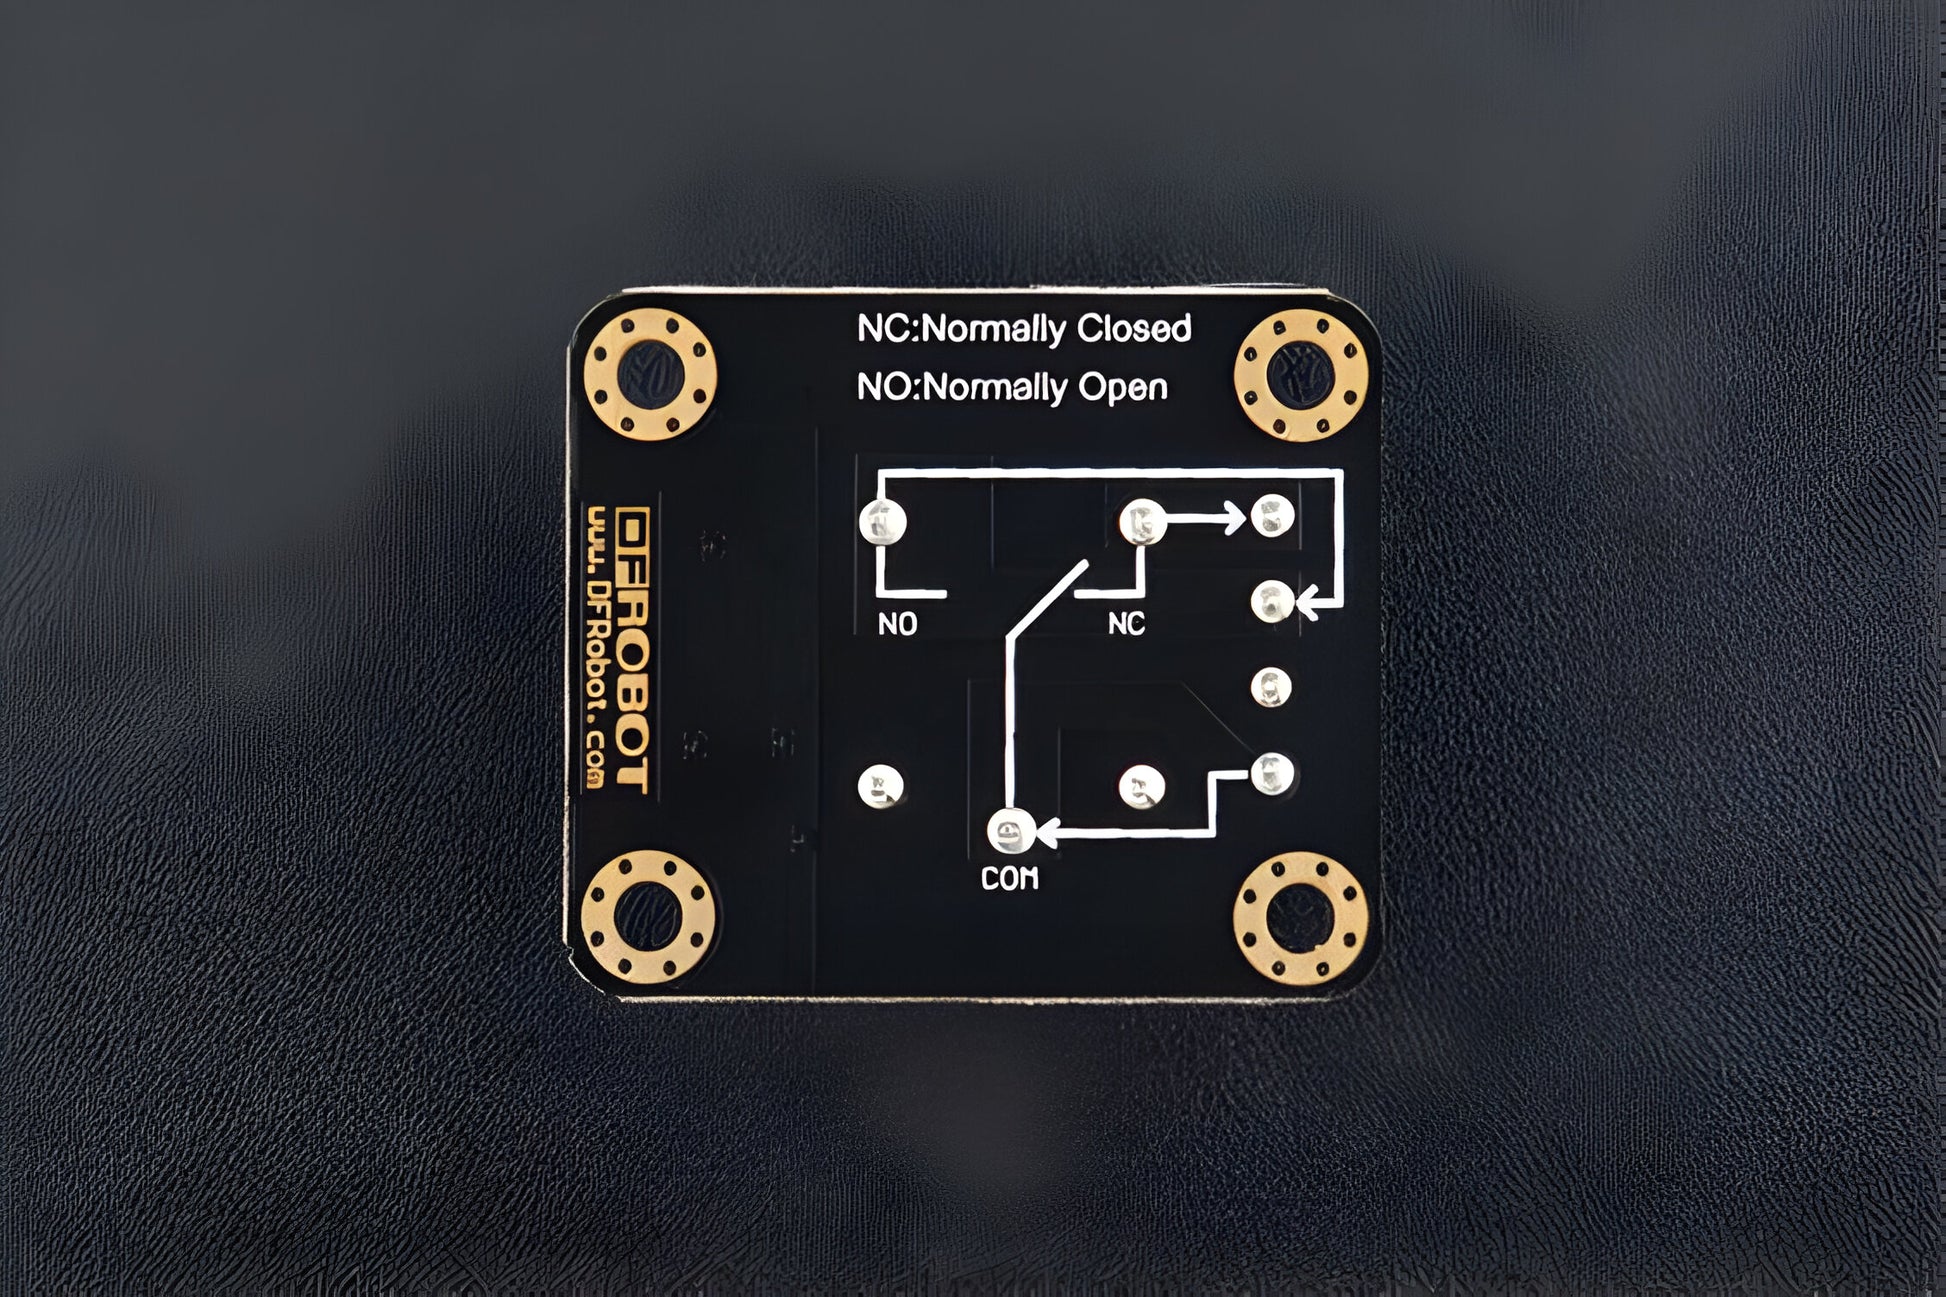
- Improved the silkscreen on the bottom layer of the sensor to indicate the hardware connection.
- Some kits may include acrylic holder and nylon screw set to prevent shorting of high power interface with metalic surface.
SPECIFICATION
- Single relay board
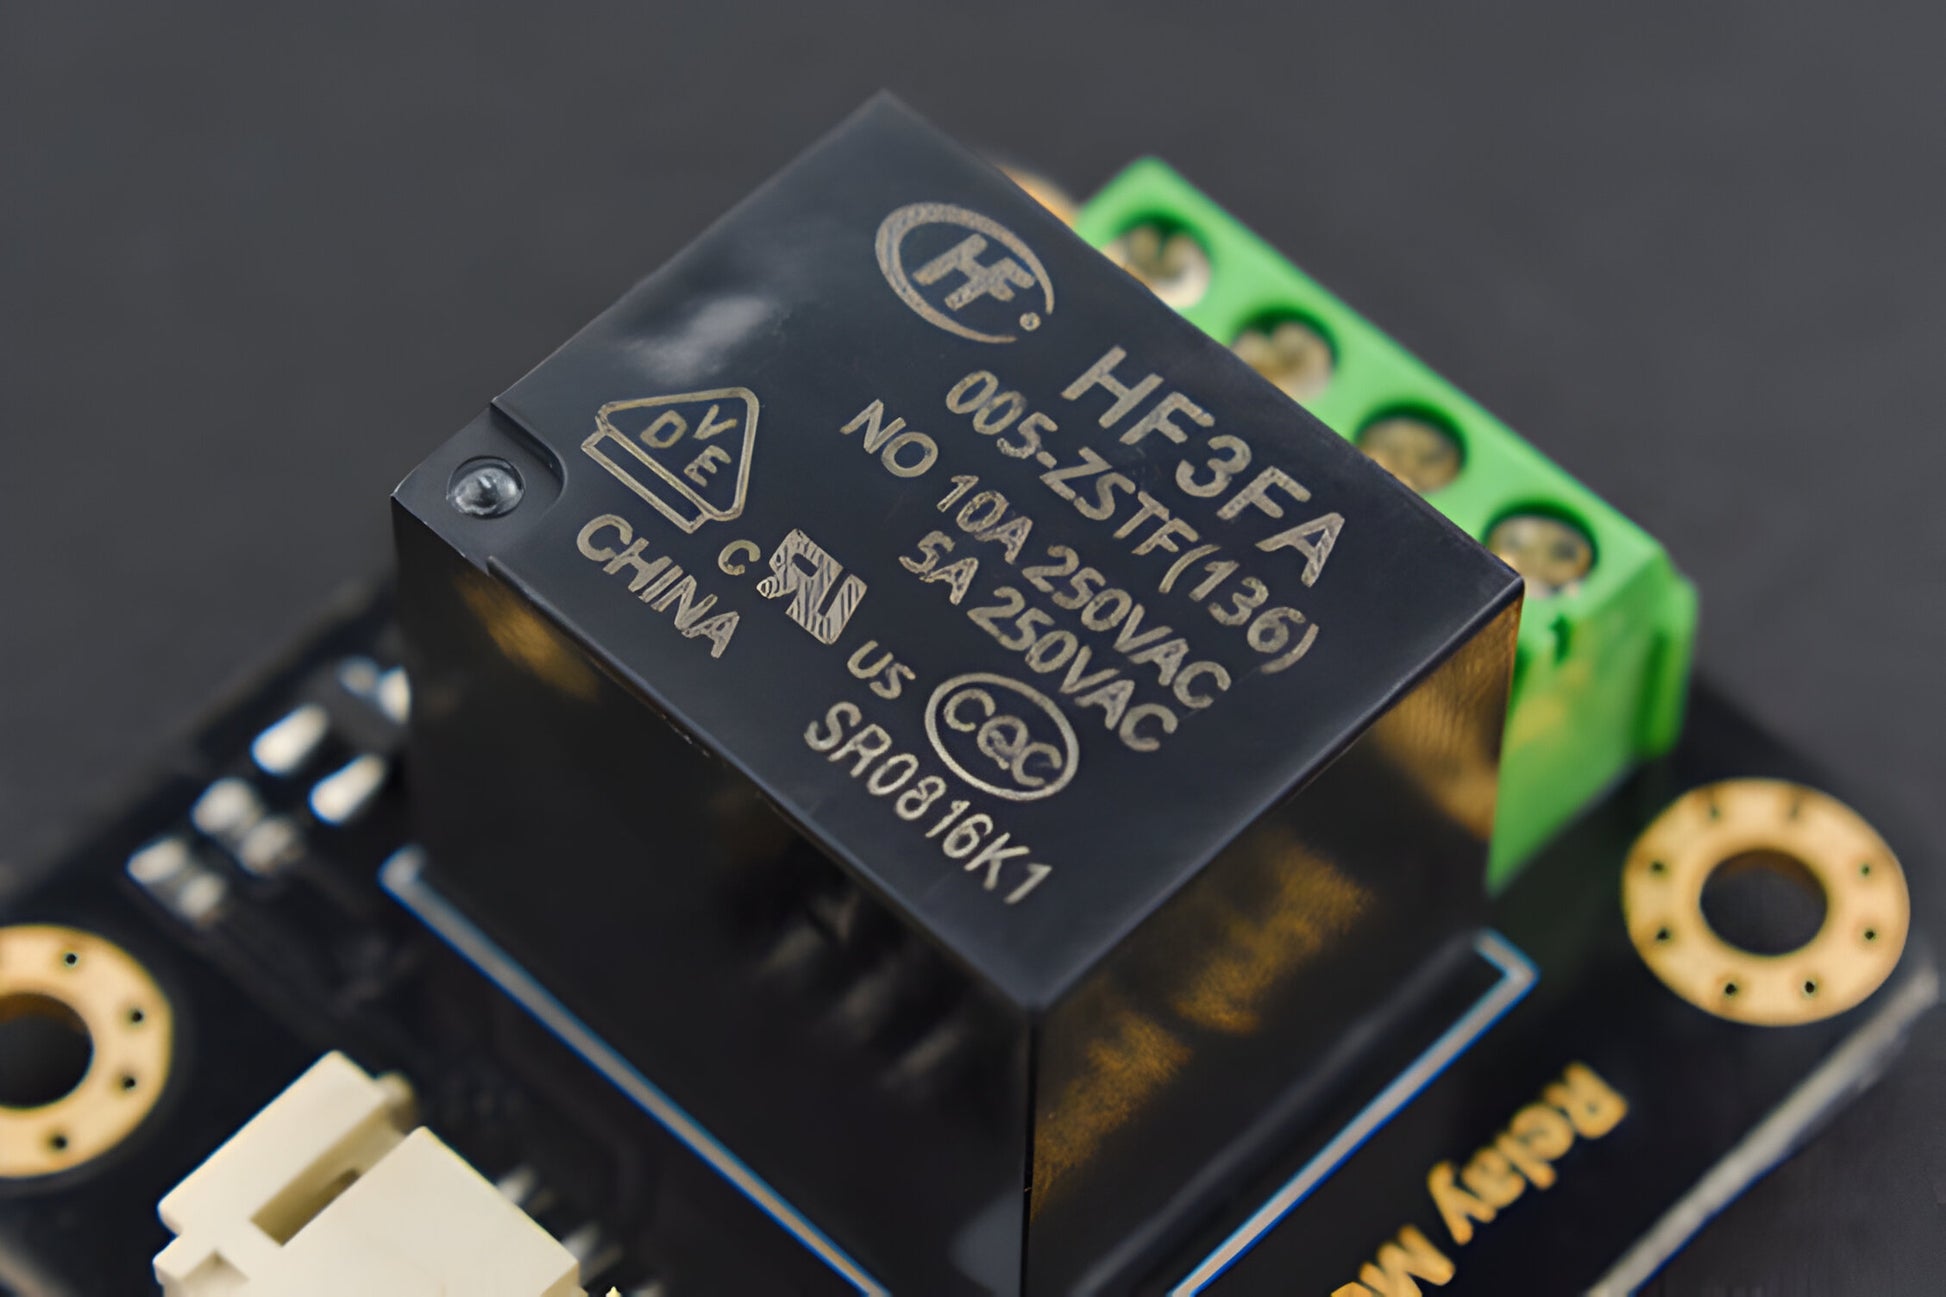
- Rated through-current: 10A (NO) 5A (NC)
- Maximum switching voltage: 150VAC 24VDC
- Interface: Digital
- Control signal: TTL level
- Contact Rating (Res. Load): 10A 250VAC / 24VDC
- Max. switching voltage 250VAC / 30VDC
- Max. switching current 15A
- Max. switching power 250VA 240W
- UL Rating: 10A 120VAC / 10A 250VAC
- Operate time (at nomi. Vot.): 10ms
- Release time (at nomi. Vot.): 5ms
- High quality connector
- Immersion gold surface
PROJECTS
Project 1. Using the Arduino Xboard to control a relay
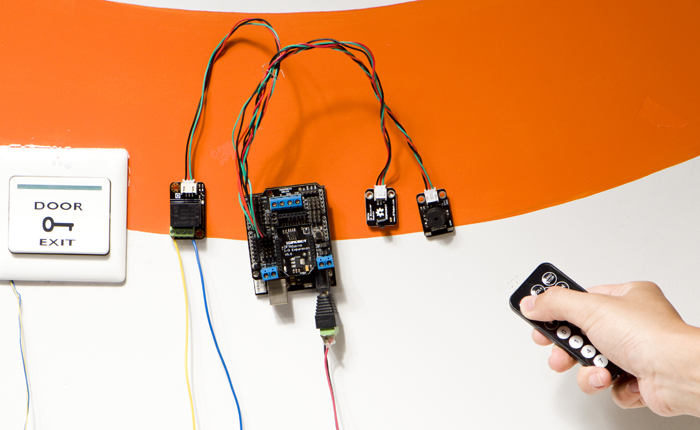
In this project you will find how to use the XBoard with xbee along with another arduino to control some objects over your local network.
Hardware needed:
Main Components:
DFRduino UNO R3 *1
Gravity: IO Expansion Shield for Arduino V7.1 *1
Gravity: Analog Turbidity Sensor For Arduino *1
Immersible Pump & WaterTube *1
Gravity: Analog pH Sensor / Meter Kit For Arduino *1
Wall Adapter Power Supply 12VDC *1 Solenoid Valve *1
Gravity: Digital 5A Relay Module *1
Water Pipe *2m
Interface (for solenoid valve) *2
I2C 16x2 Arduino LCD Display Module
Project 3. How to Make an Automatic Christmas Tree
With all the lights and decorations that people use at Christmas, power is left on all the time and electricity bills skyrocket. I made this motion detecting Christmas tree light setup that only turns on when people are nearby.
Hardware list:
PIR Sensor x1
Bluno x1
I/O Expansion Shield v7.1 x1
LED Strip x1
Relay Switch x1
Mini mp3 module
DFSpeaker v1.0
Regular power extension lead (with some modifications)
1k resistors x2
In this project you will find how to use the XBoard with xbee along with another arduino to control some objects over your local network.
Hardware needed:
- 1 Arduino
- 1 Xboard
- 1 FTDI programmer
- 1 Relay
- 1 CAT5 cable
- 1 pair of xbee modules
- 1 computer
- 1 Internet router
- hookup wire
Main Components:
DFRduino UNO R3 *1
Gravity: IO Expansion Shield for Arduino V7.1 *1
Gravity: Analog Turbidity Sensor For Arduino *1
Immersible Pump & WaterTube *1
Gravity: Analog pH Sensor / Meter Kit For Arduino *1
Wall Adapter Power Supply 12VDC *1 Solenoid Valve *1
Gravity: Digital 5A Relay Module *1
Water Pipe *2m
Interface (for solenoid valve) *2
I2C 16x2 Arduino LCD Display Module
Project 3. How to Make an Automatic Christmas Tree
With all the lights and decorations that people use at Christmas, power is left on all the time and electricity bills skyrocket. I made this motion detecting Christmas tree light setup that only turns on when people are nearby.
Hardware list:
PIR Sensor x1
Bluno x1
I/O Expansion Shield v7.1 x1
LED Strip x1
Relay Switch x1
Mini mp3 module
DFSpeaker v1.0
Regular power extension lead (with some modifications)
1k resistors x2
Project 4. Application Tutorials of FireBeetle Board - ESP32 BLE: Smarten a Plugboard
What you have seen is a smart plugboard that converted by ESP32 master board and controlled by BLE of ESP32.
Hardware in need:
DOCUMENTS
SHIPPING LIST
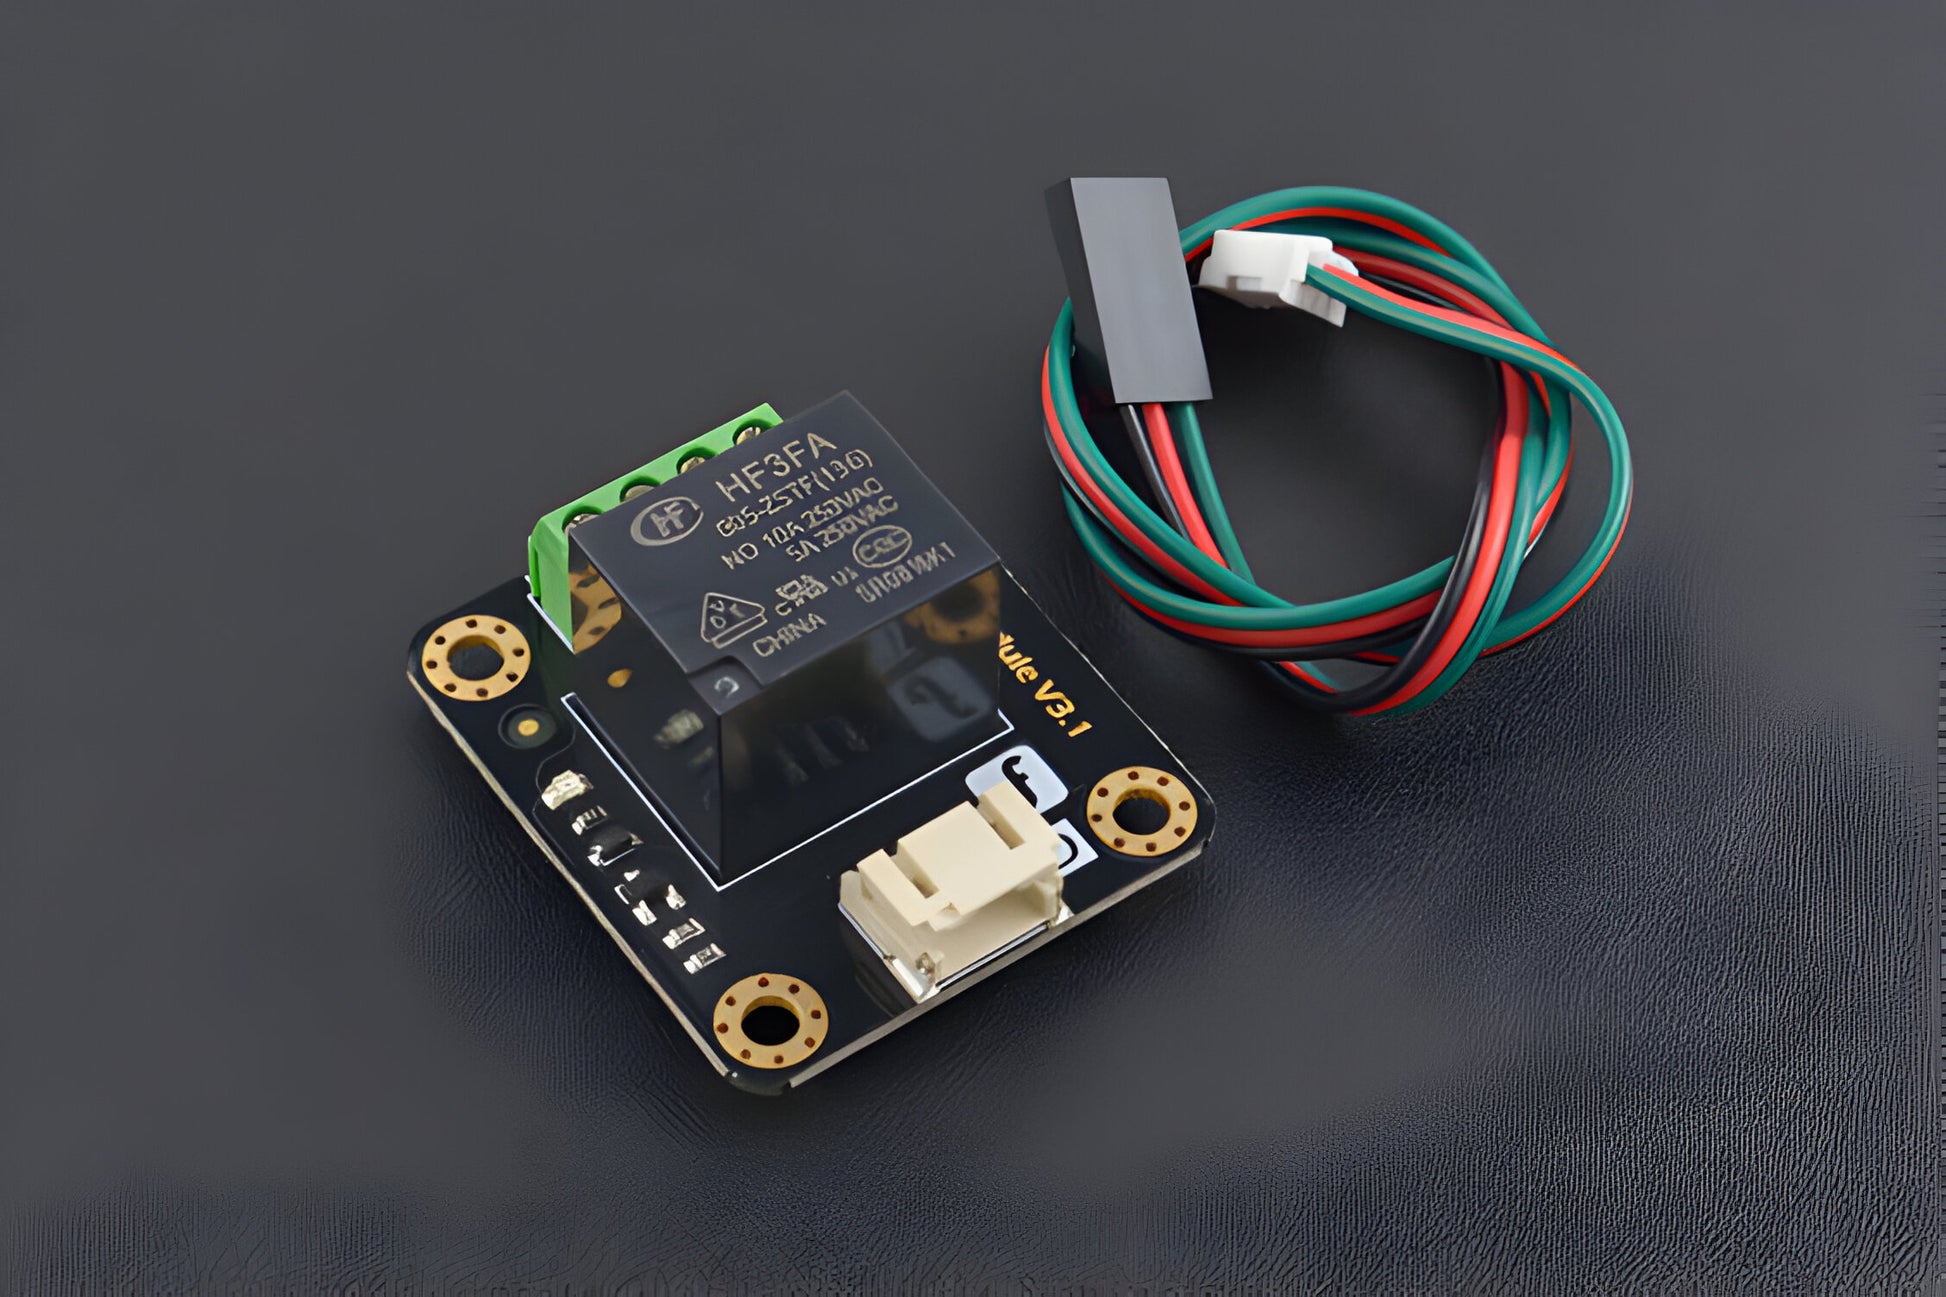
- Gravity Relay Module V3.1 x1
- Digital Cable x1
