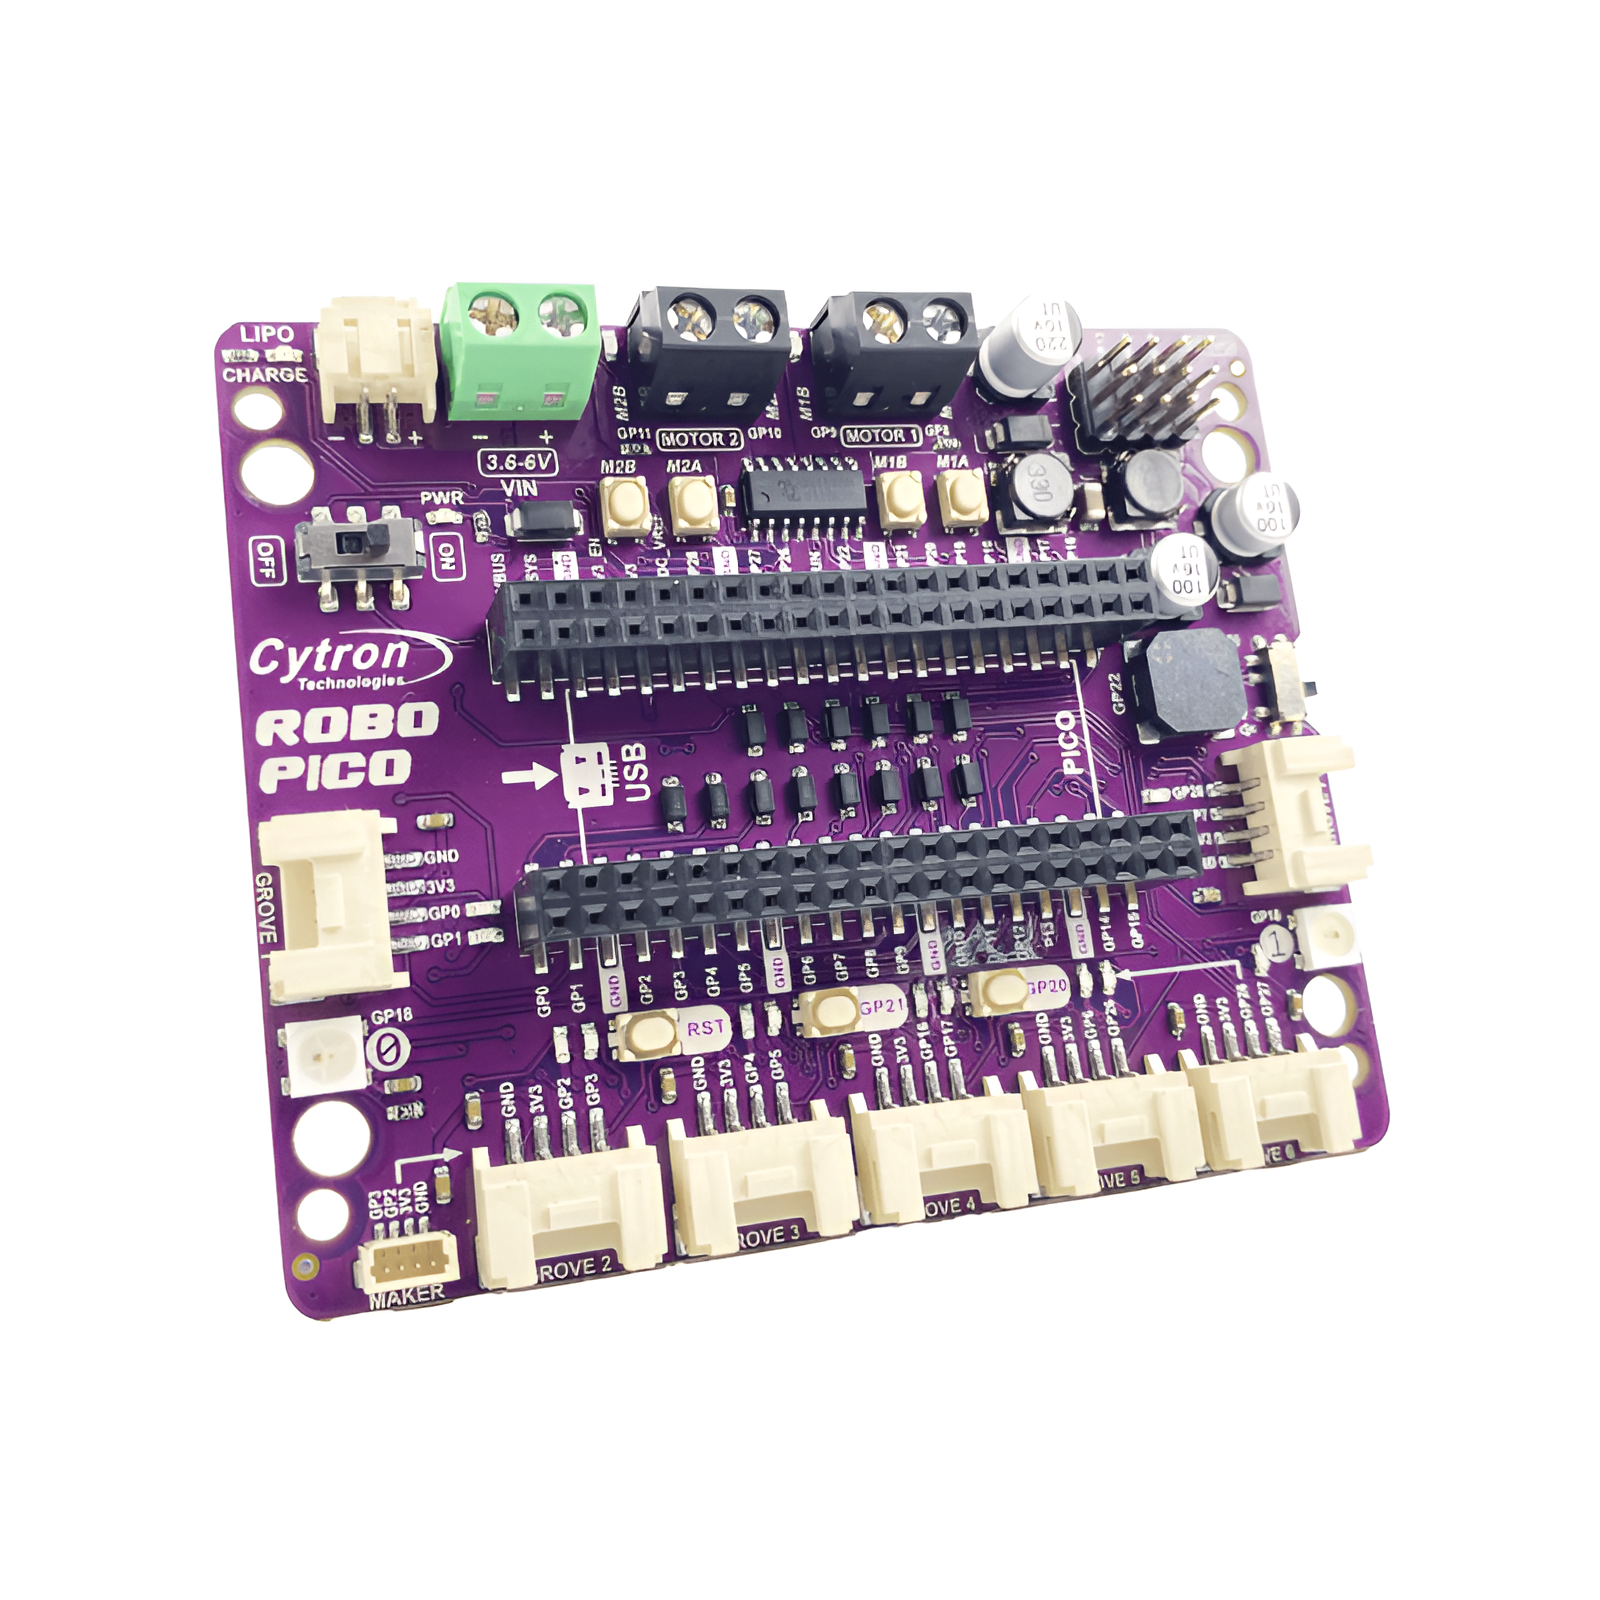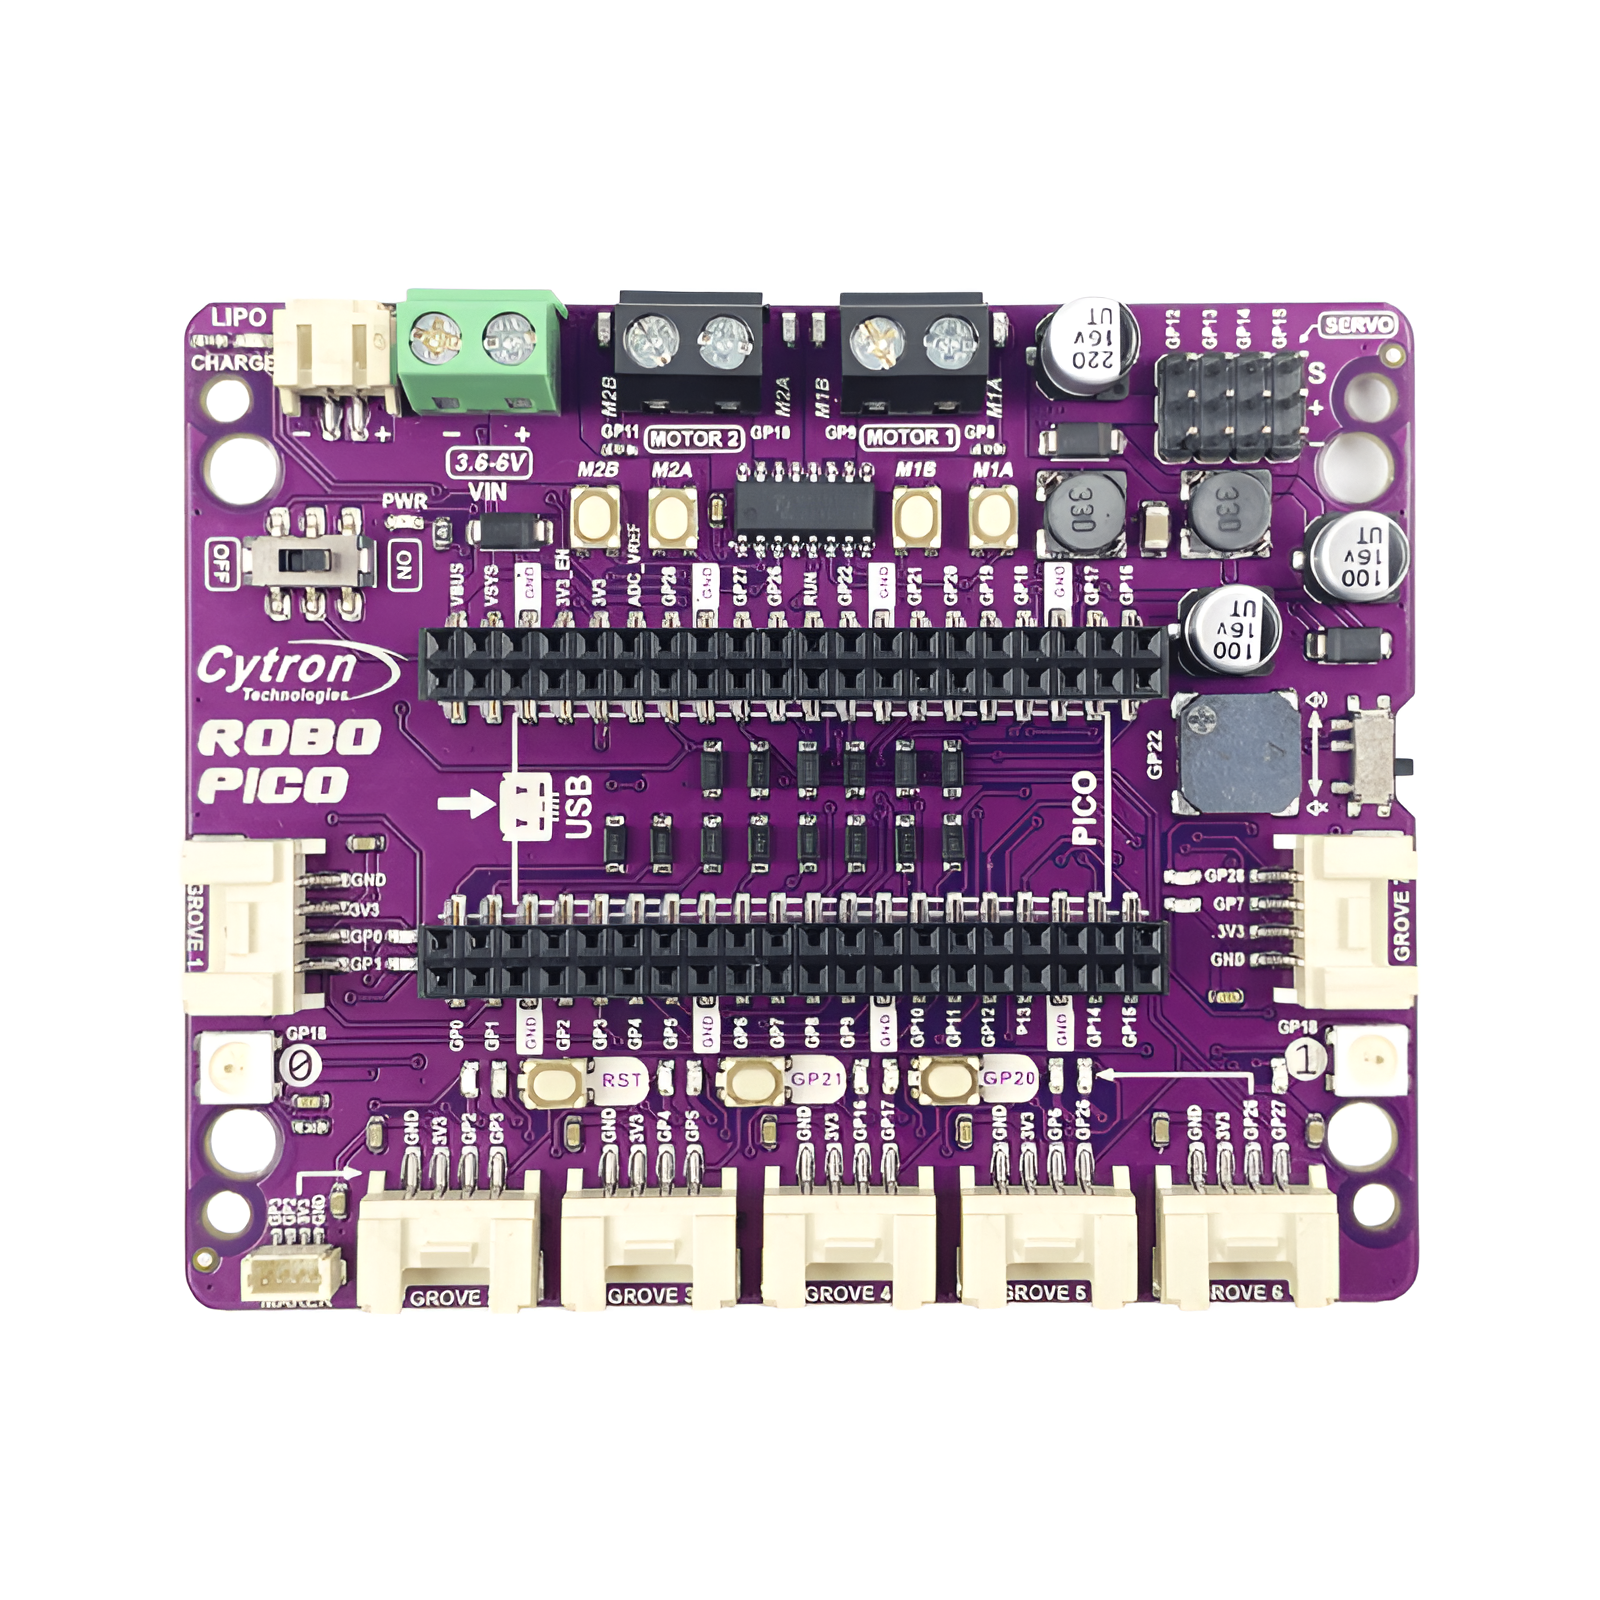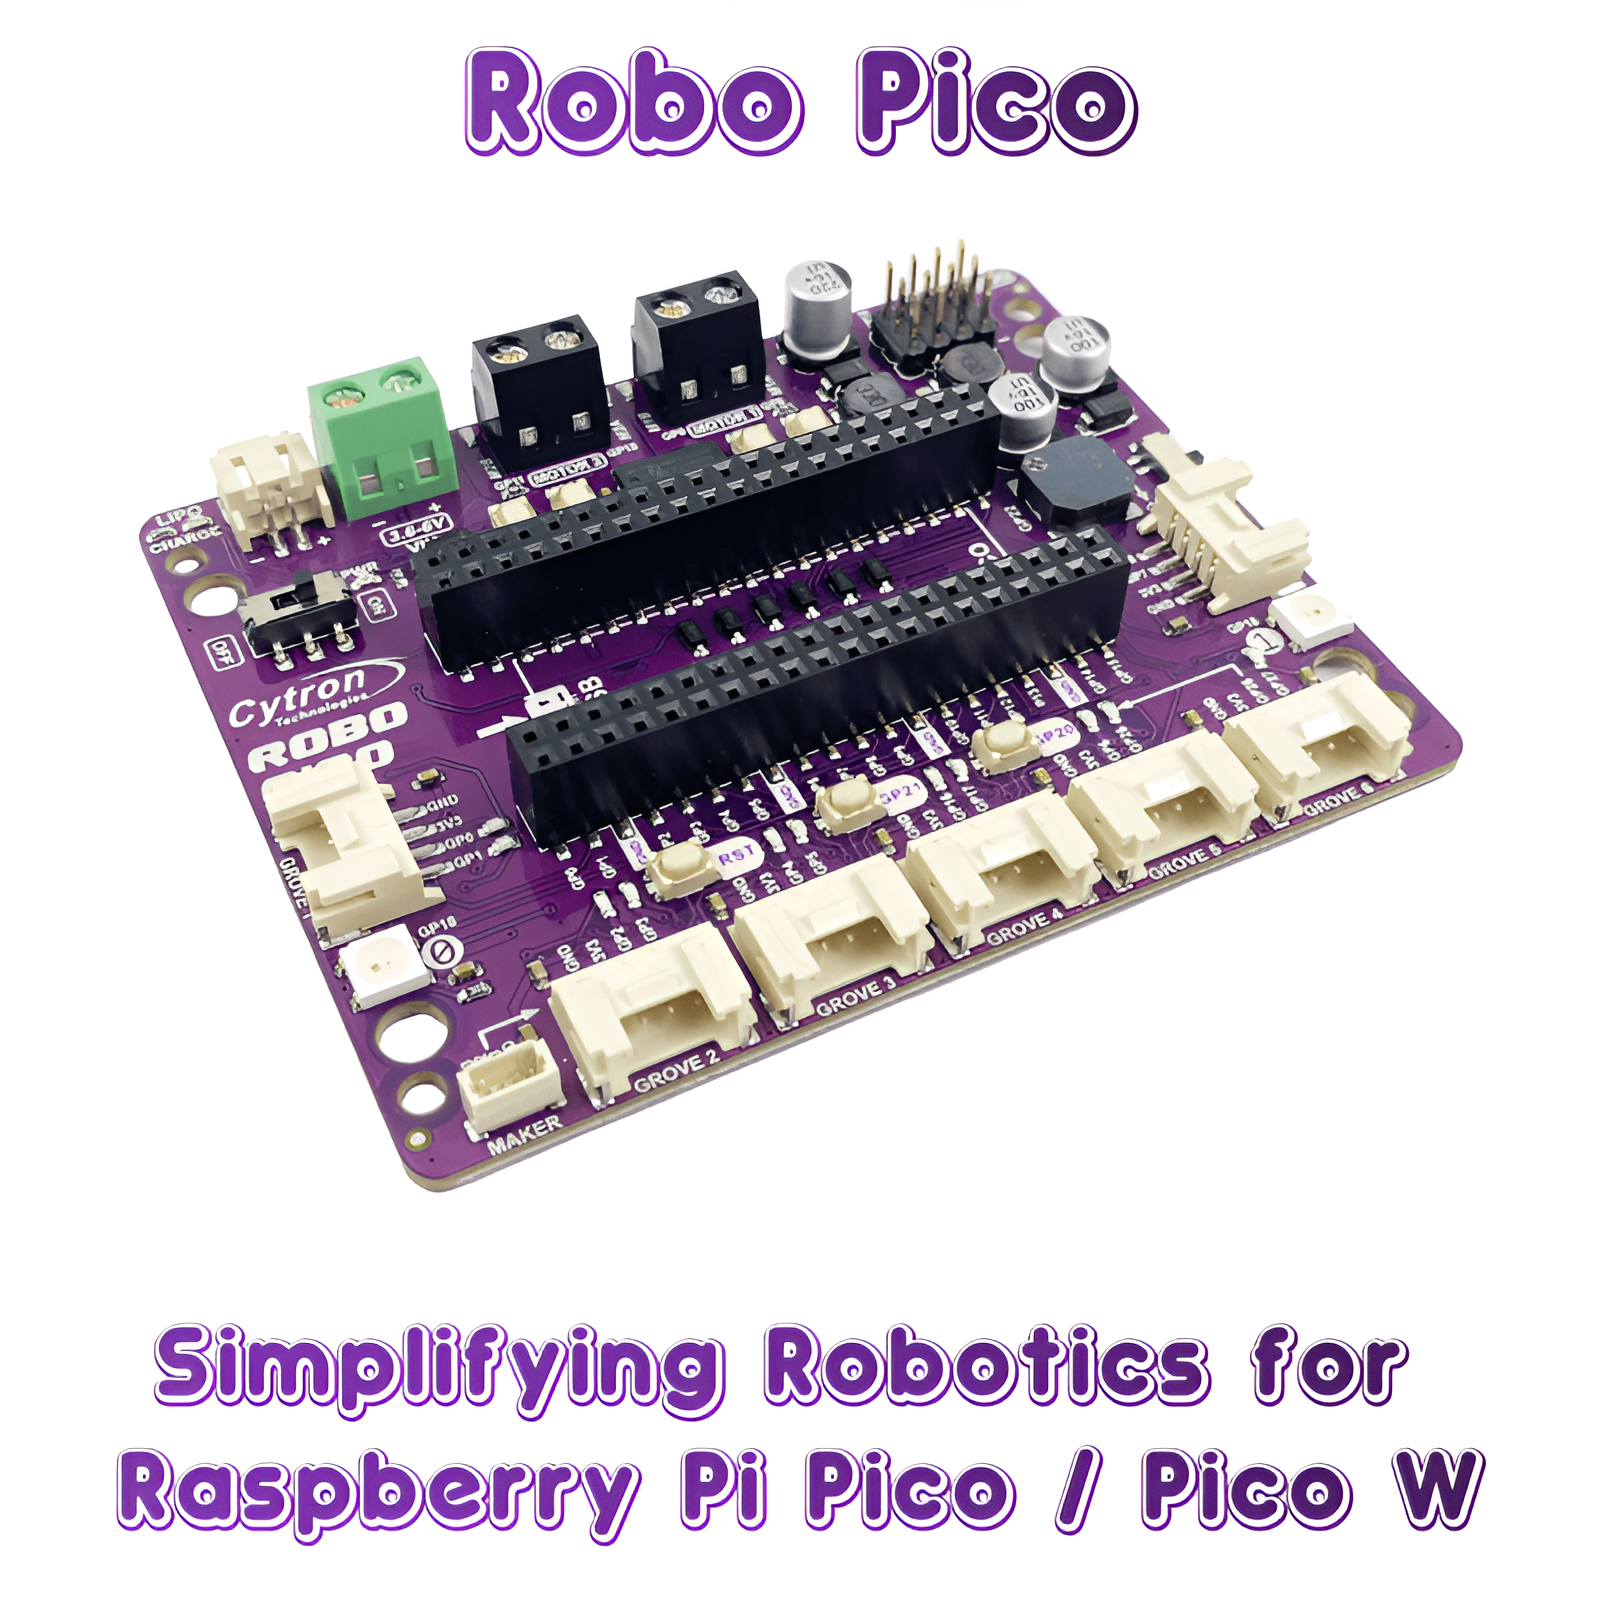
Introducing Robo Pico, your new best friend in crafting imaginative projects. Designed to integrate effortlessly with the Raspberry Pi Pico and Pico W, it’s equipped with a 2-channel DC motor driver, 4 servo motor ports, and 7 Grove I/O connectors. Whether you're designing a WiFi-controlled robot car or building a smart IoT project system, Robo Pico is here to make it an enjoyable journey.
Please Note: Raspberry Pi Pico Not Included
Works with Raspberry Pi Pico and Pico W
The Robo Pico doesn't just use any controller - it leverages the power of the Raspberry Pi Pico and Pico W. The Raspberry Pi Foundation's robust controllers are ready to take your projects to the next level. Whether you're an experienced maker or a curious beginner, you'll appreciate the versatility they offer.
Features to Spark Your Creativity
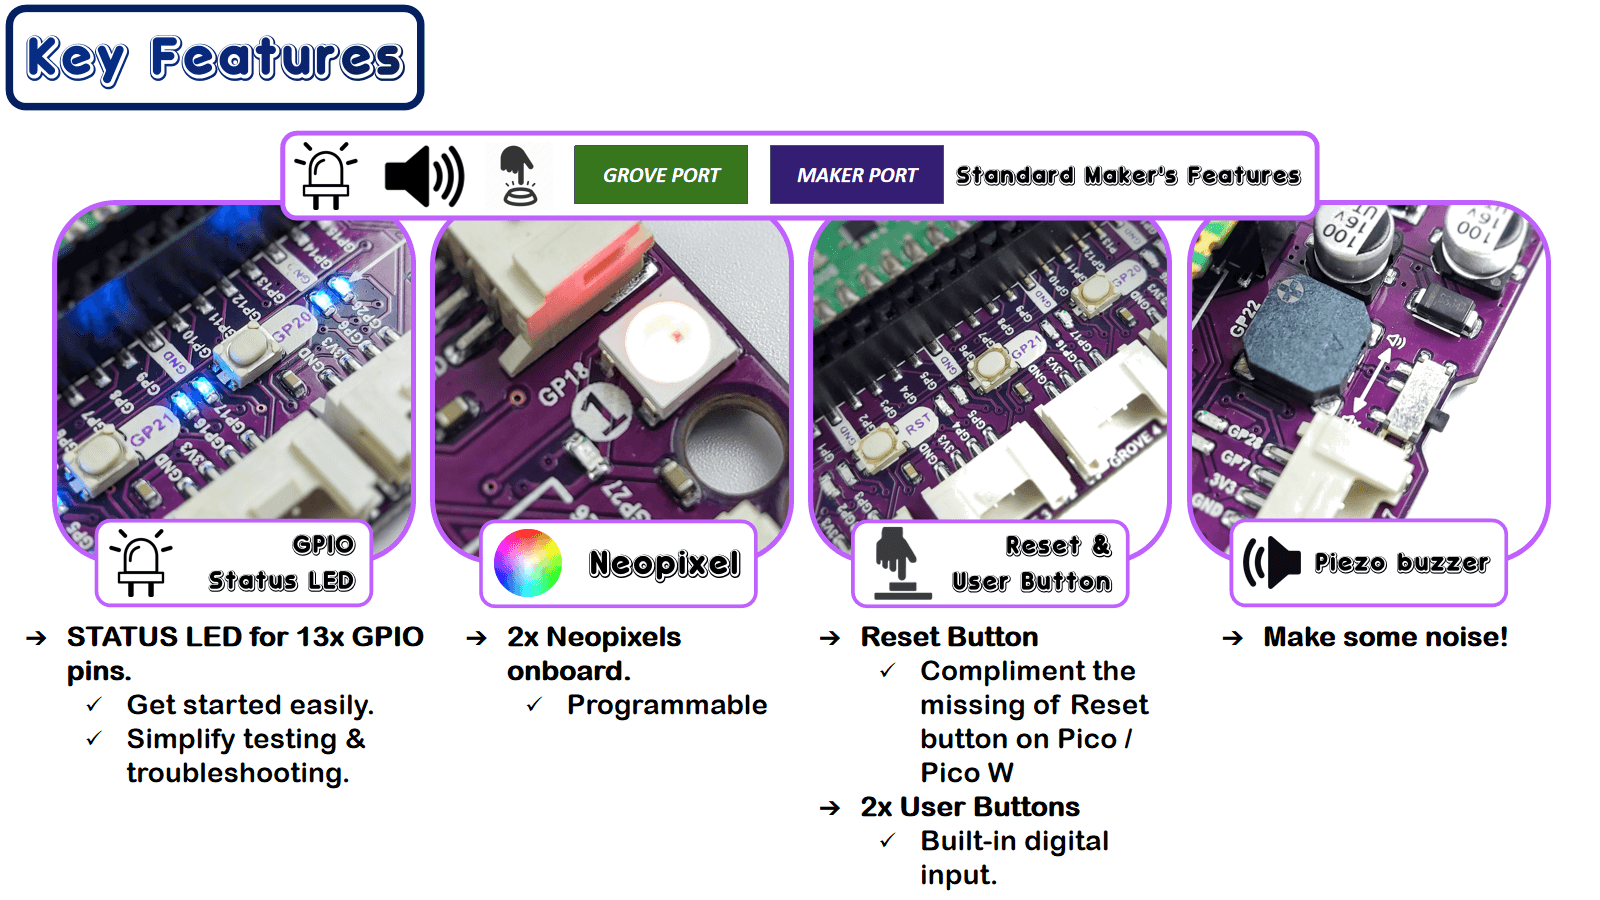
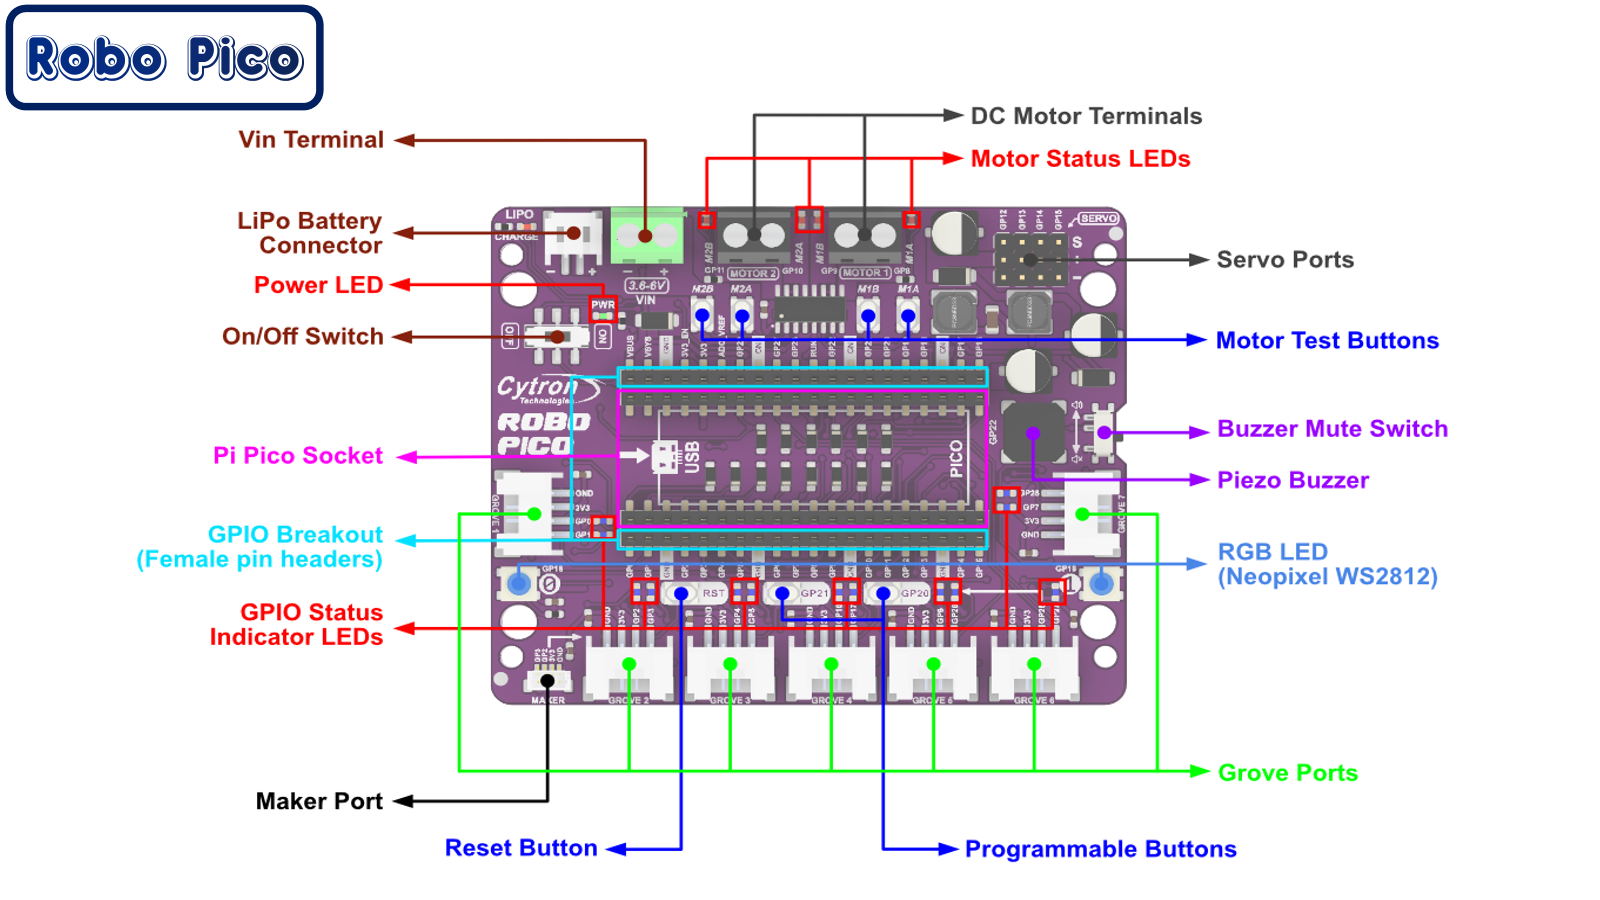
The Robo Pico is more than a board - it's a canvas for your creative masterpieces. Equipped with a dual channel DC motor driver, 4 servo motor ports, 7 Grove ports, a Maker port, two RGB LED NeoPixels, and a piezo buzzer, it's a playground of endless possibilities. Imagine the vibrant light displays you can design, the precise movements you can command, the unique sounds you can generate, and the innovative Internet of Things (IoT) projects you could create!
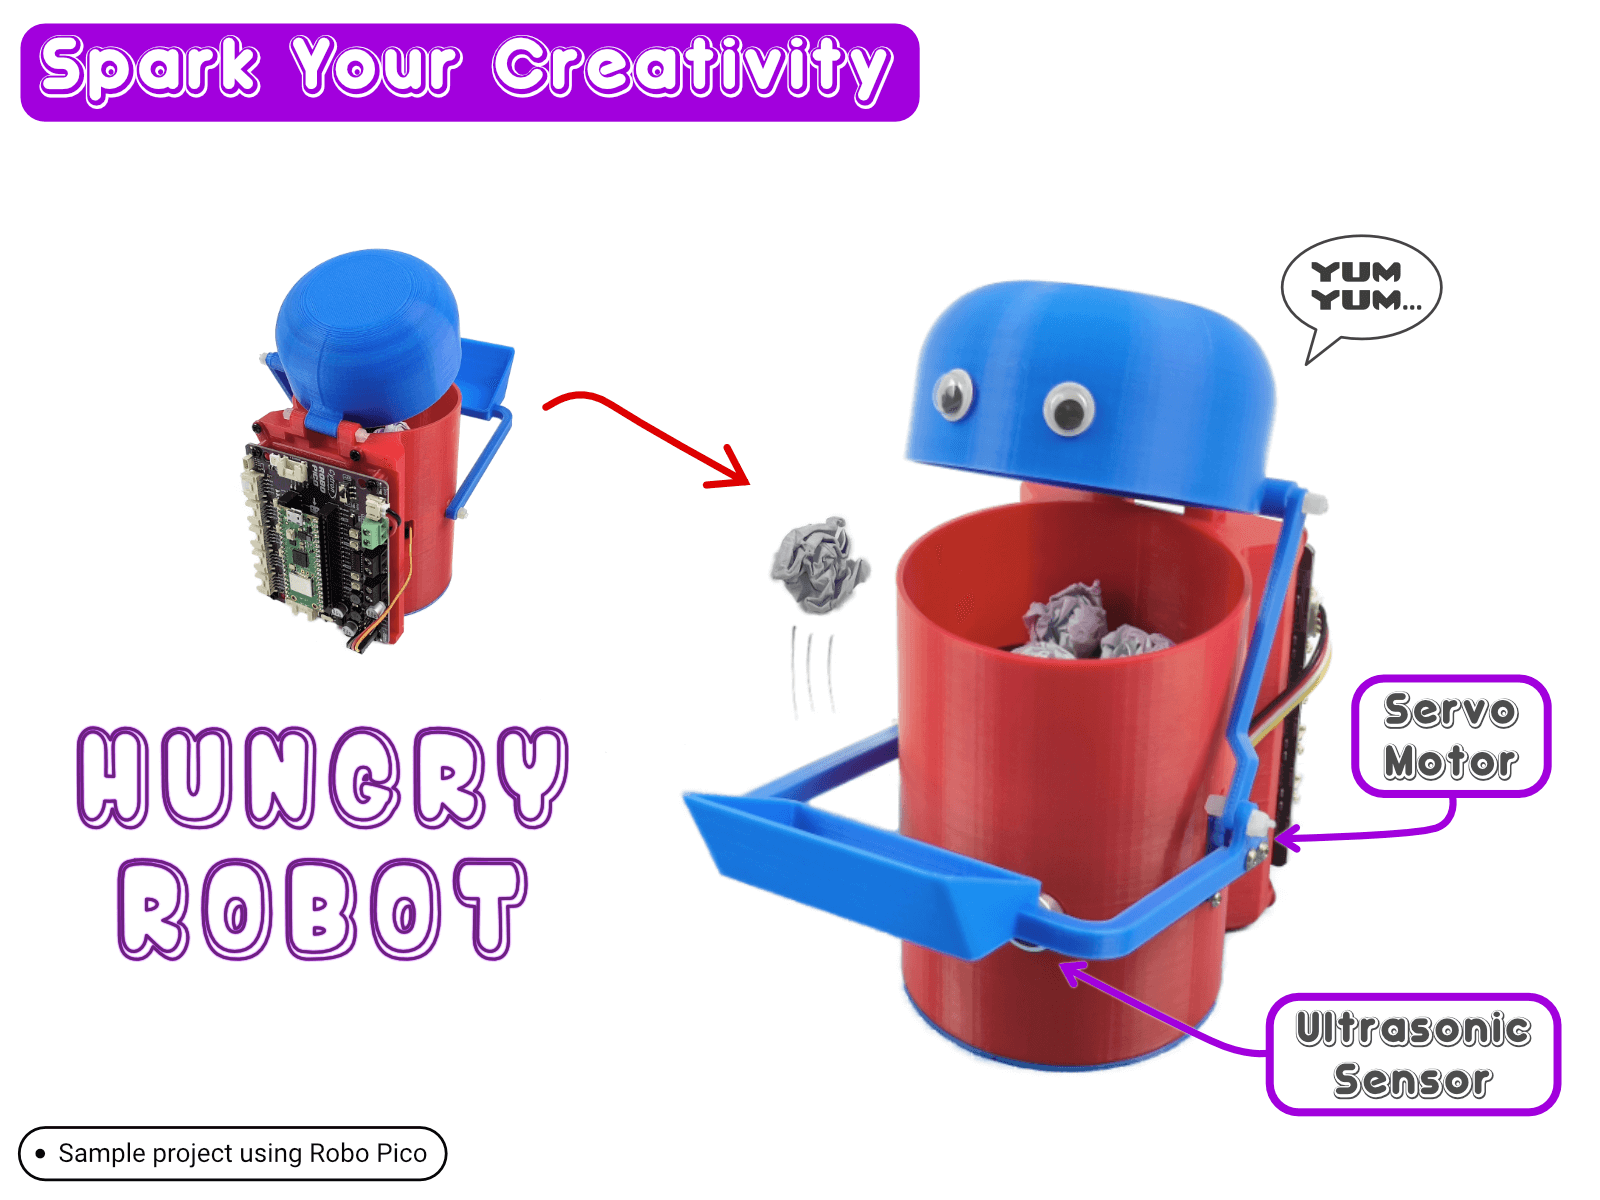
Credit: Hungry Robot Powered by Maker Pi RP2040 Tutorial.
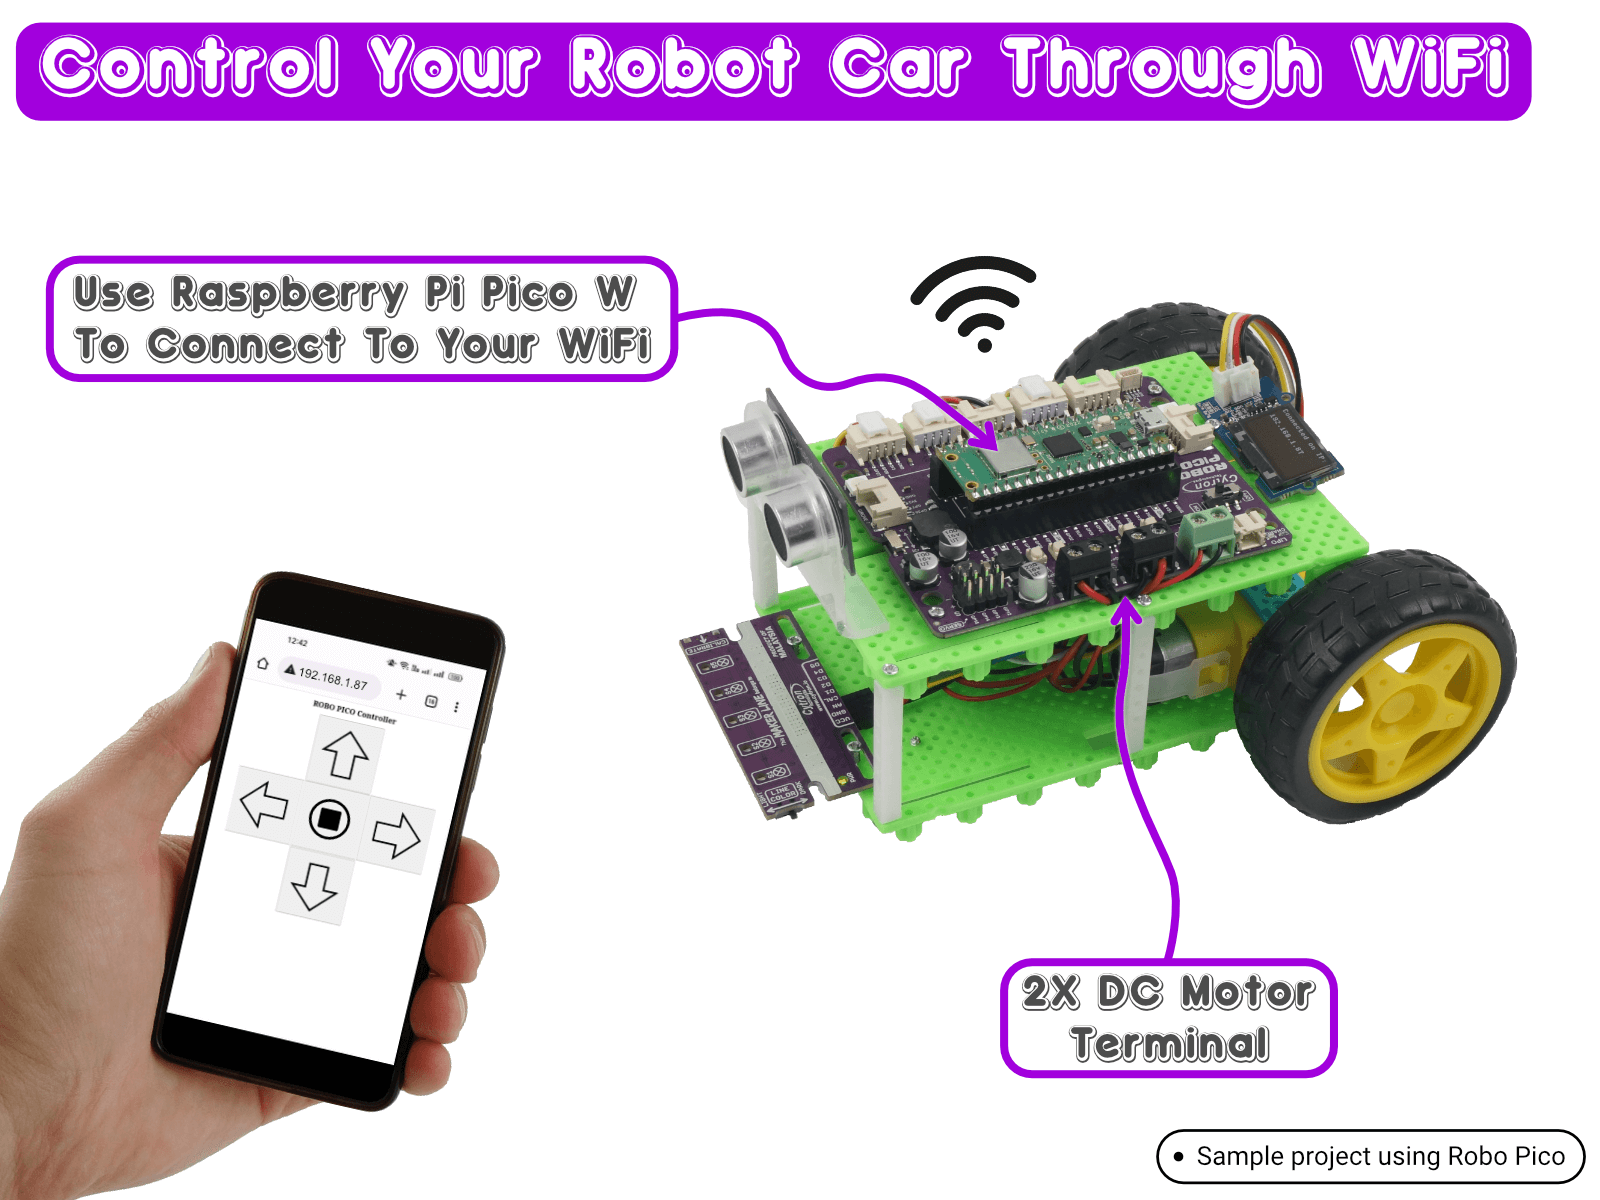
Credit: Inspiration and source code from ExplainingComputers.

DC Motors and Servos: Make It Drive
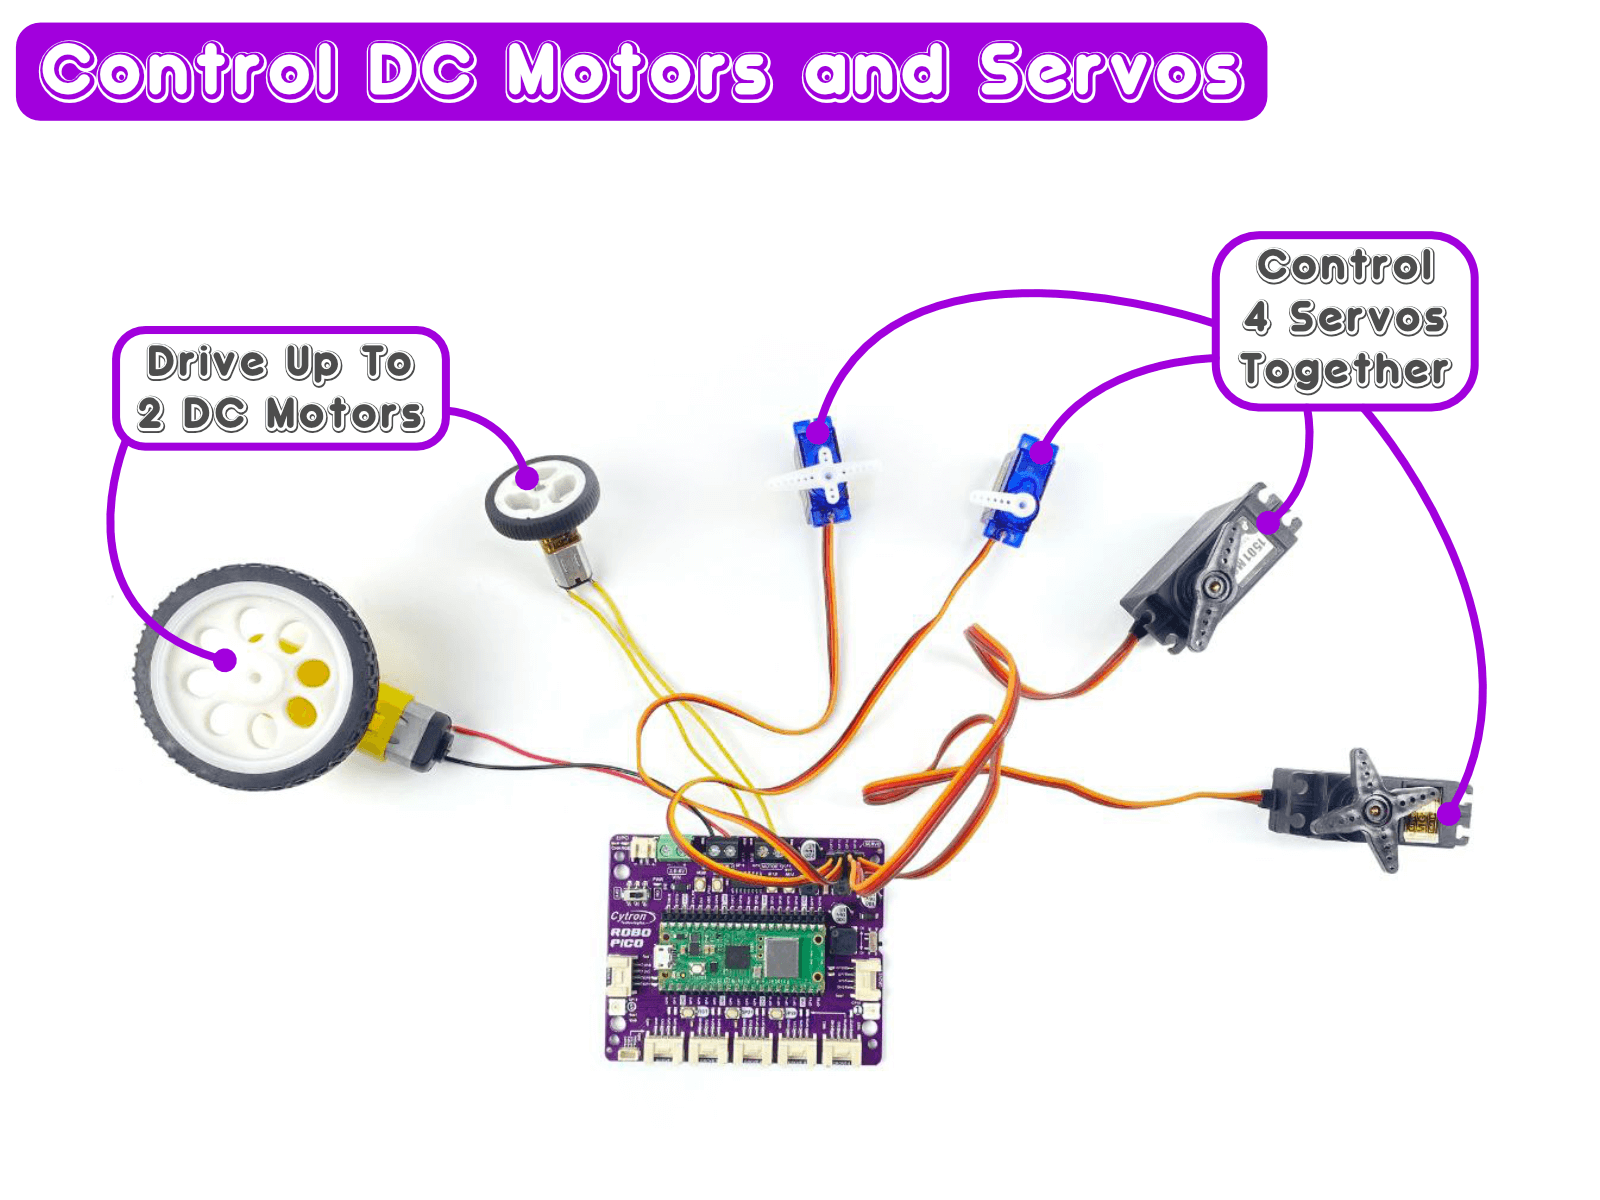
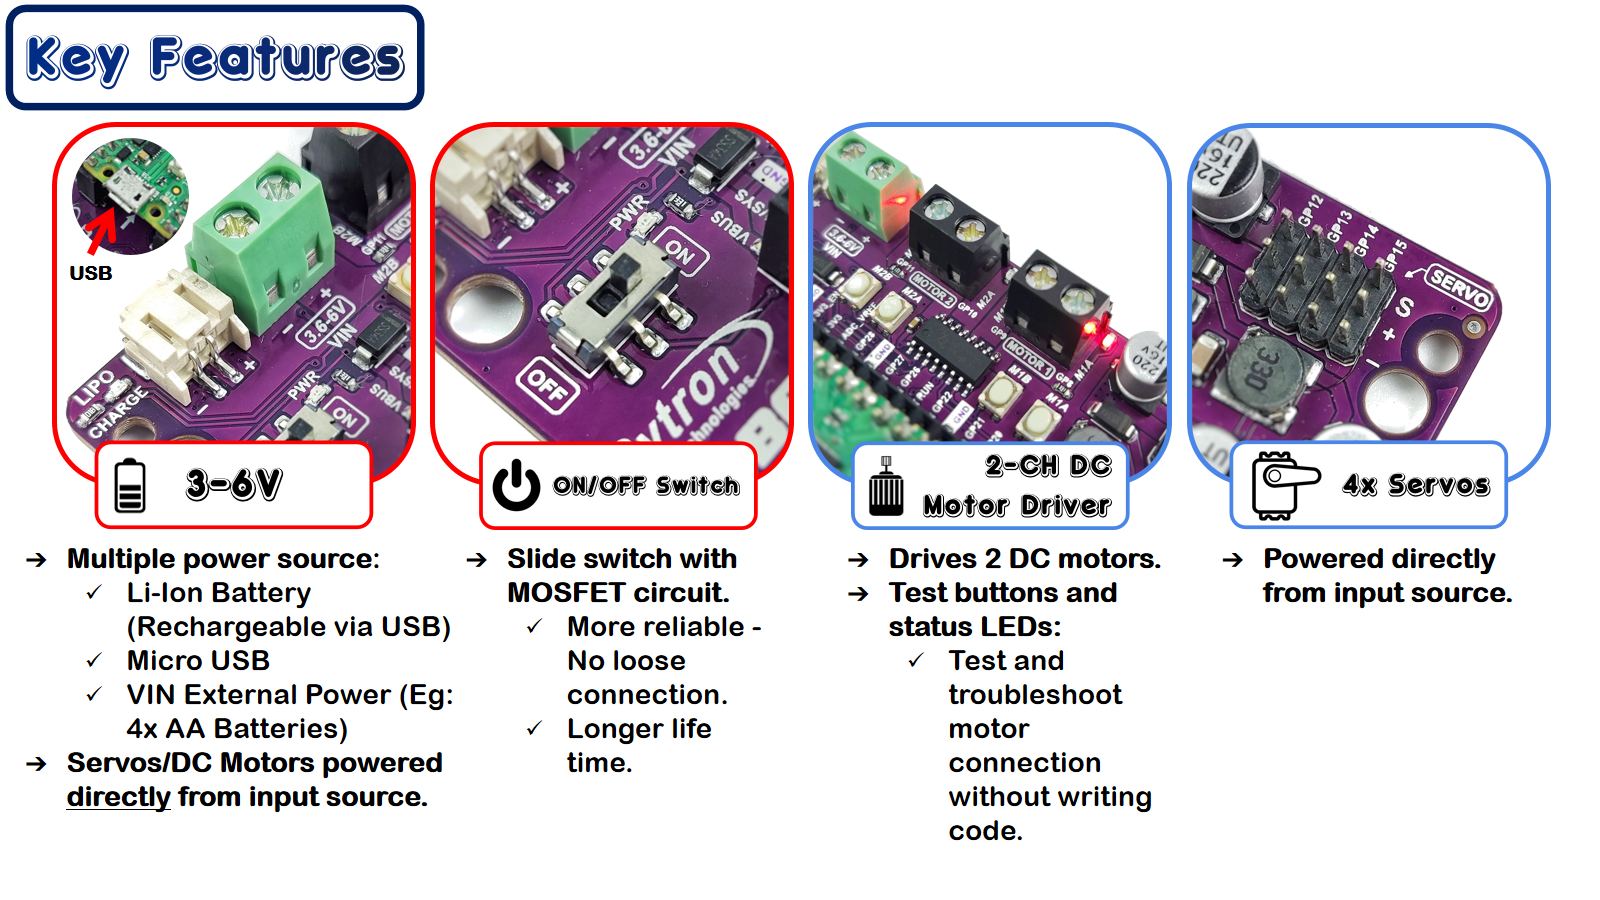
Robo Pico comes with an onboard DC motor driver, designed to manage either 2 brushed DC motors or a single bipolar/unipolar stepper motor, and even 4 servo motors simultaneously, rated between 3.6V and 6V. Each channel can handle up to 1A of continuous current. It also included Quick Test buttons and motor output LEDs for fast and hassle-free checks on your motor driver without writing a single line of code. Remember, the voltage for both DC and servo motors (Vmotor) is determined by the voltage you supply to the board.
Connections Made Simple
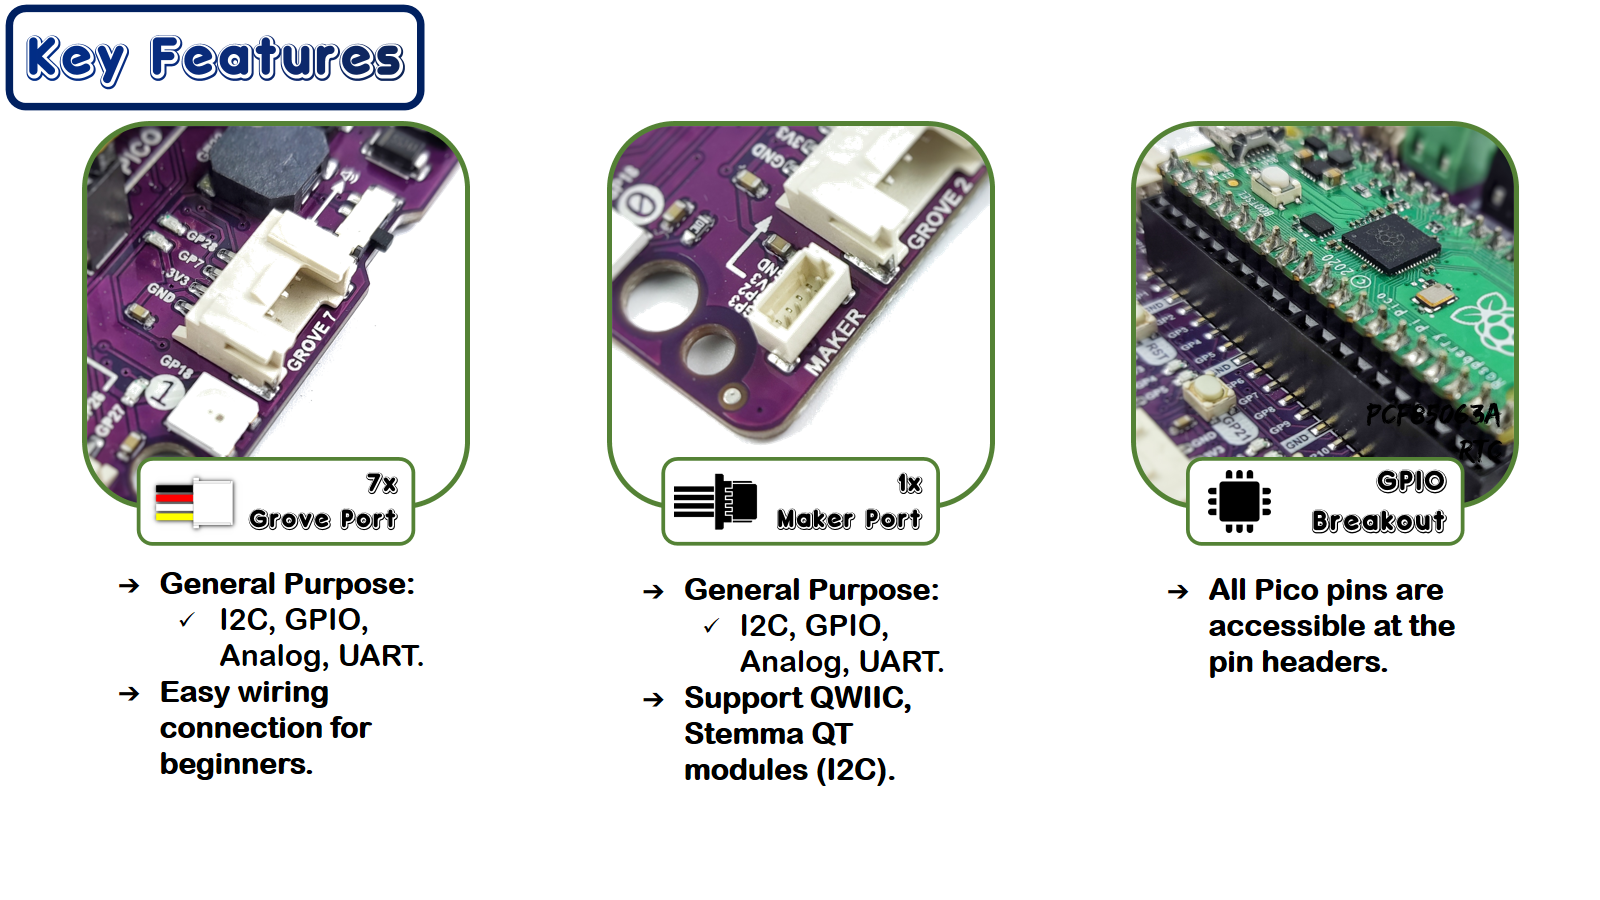
No more stumbling around with tricky wiring or setups. Connections are simple with Robo Pico. All GPIO pins are thoughtfully arranged at the edge through the Grove and Maker ports, which skips the need for soldering and enables quicker connection of any Qwiic, STEMMA QT, or Grove I2C device. Meanwhile, all Raspberry Pi Pico or Pico W pins can be accessed via two 20-way pin headers. With Robo Pico, you only need to press a single button to reset the microcontroller, eliminating the hassle of plugging and unplugging the USB cable repeatedly.


Troubleshooting your projects has never been simpler, thanks to the LED indicators on Robo Pico's Grove Ports, making it easy to spot and correct any issues.
Power Up The Way You Like
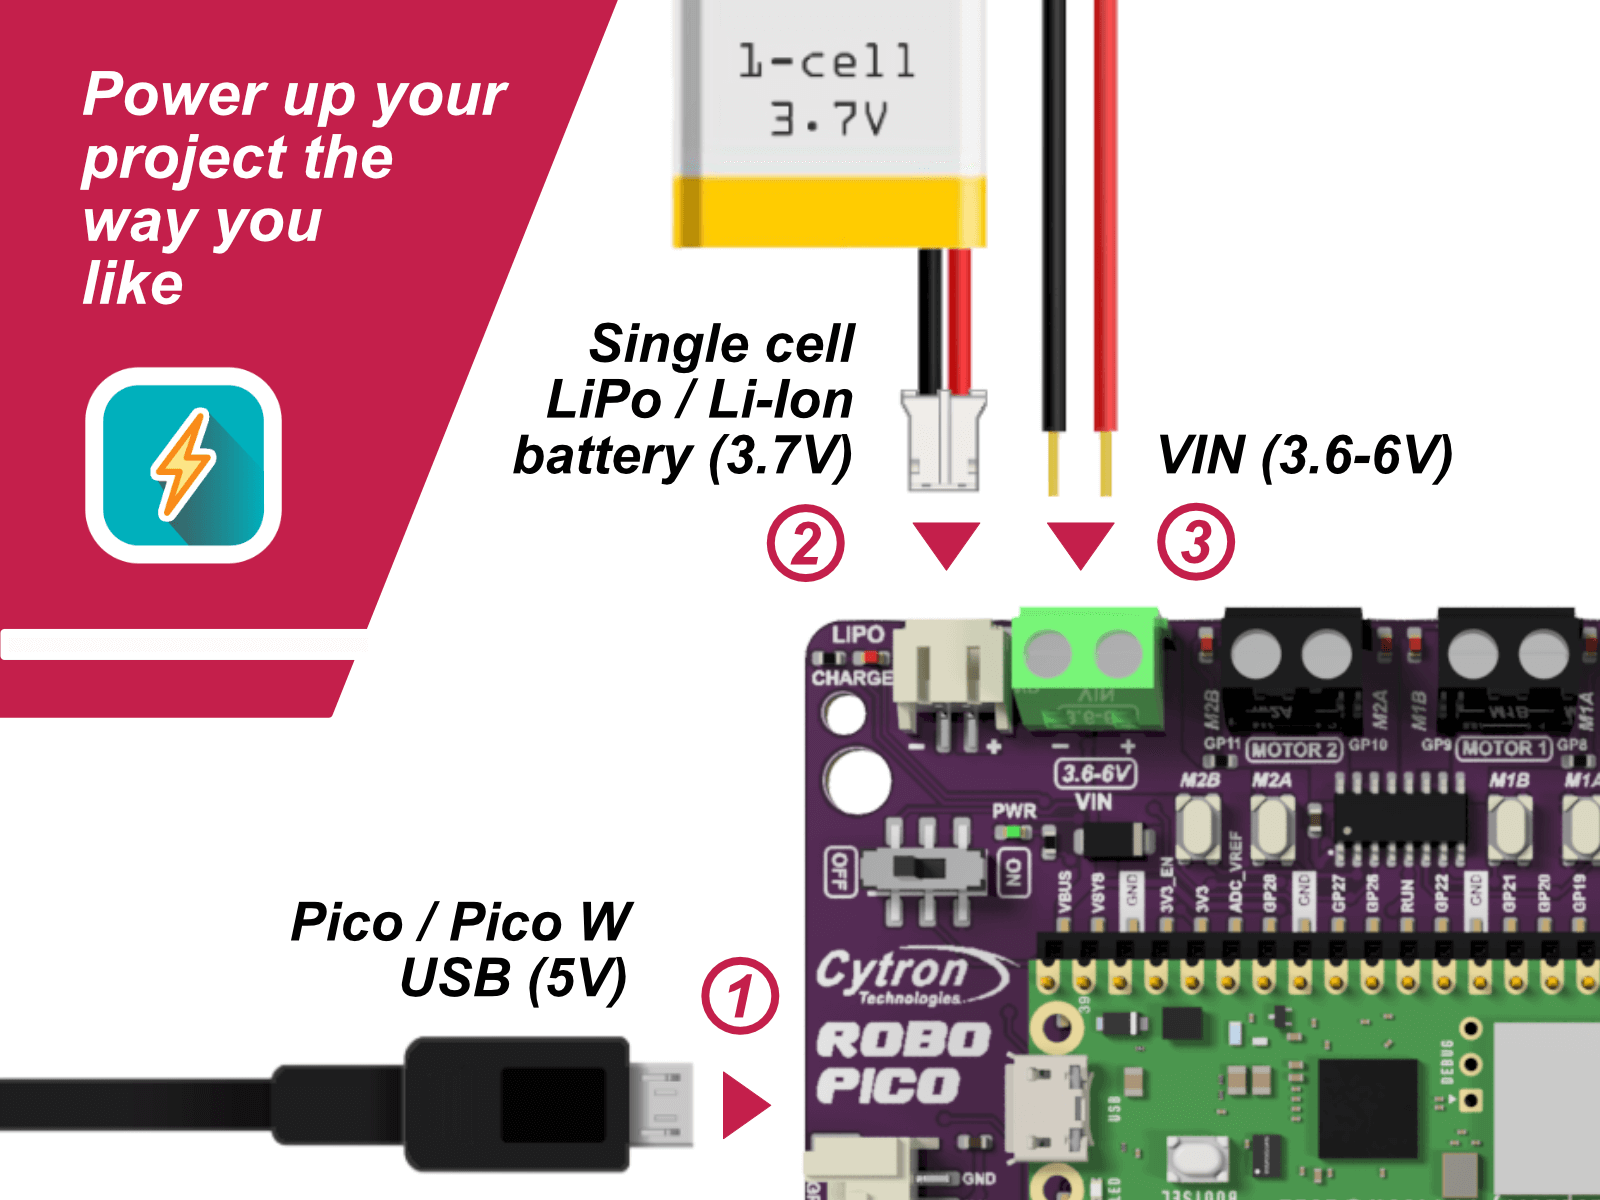
There are three ways to supply power to the Robo Pico - via the Raspberry Pi Pico / Pico W USB (5V) socket, with a single-cell LiPo/Li-Ion battery, or through the VIN (3.6–6V) terminals. However, only one power source is needed to power up both controller board and motors at a time. The power supply from all these power sources can all be controlled with the power on/off switch onboard.

Embrace the Freedom of Coding
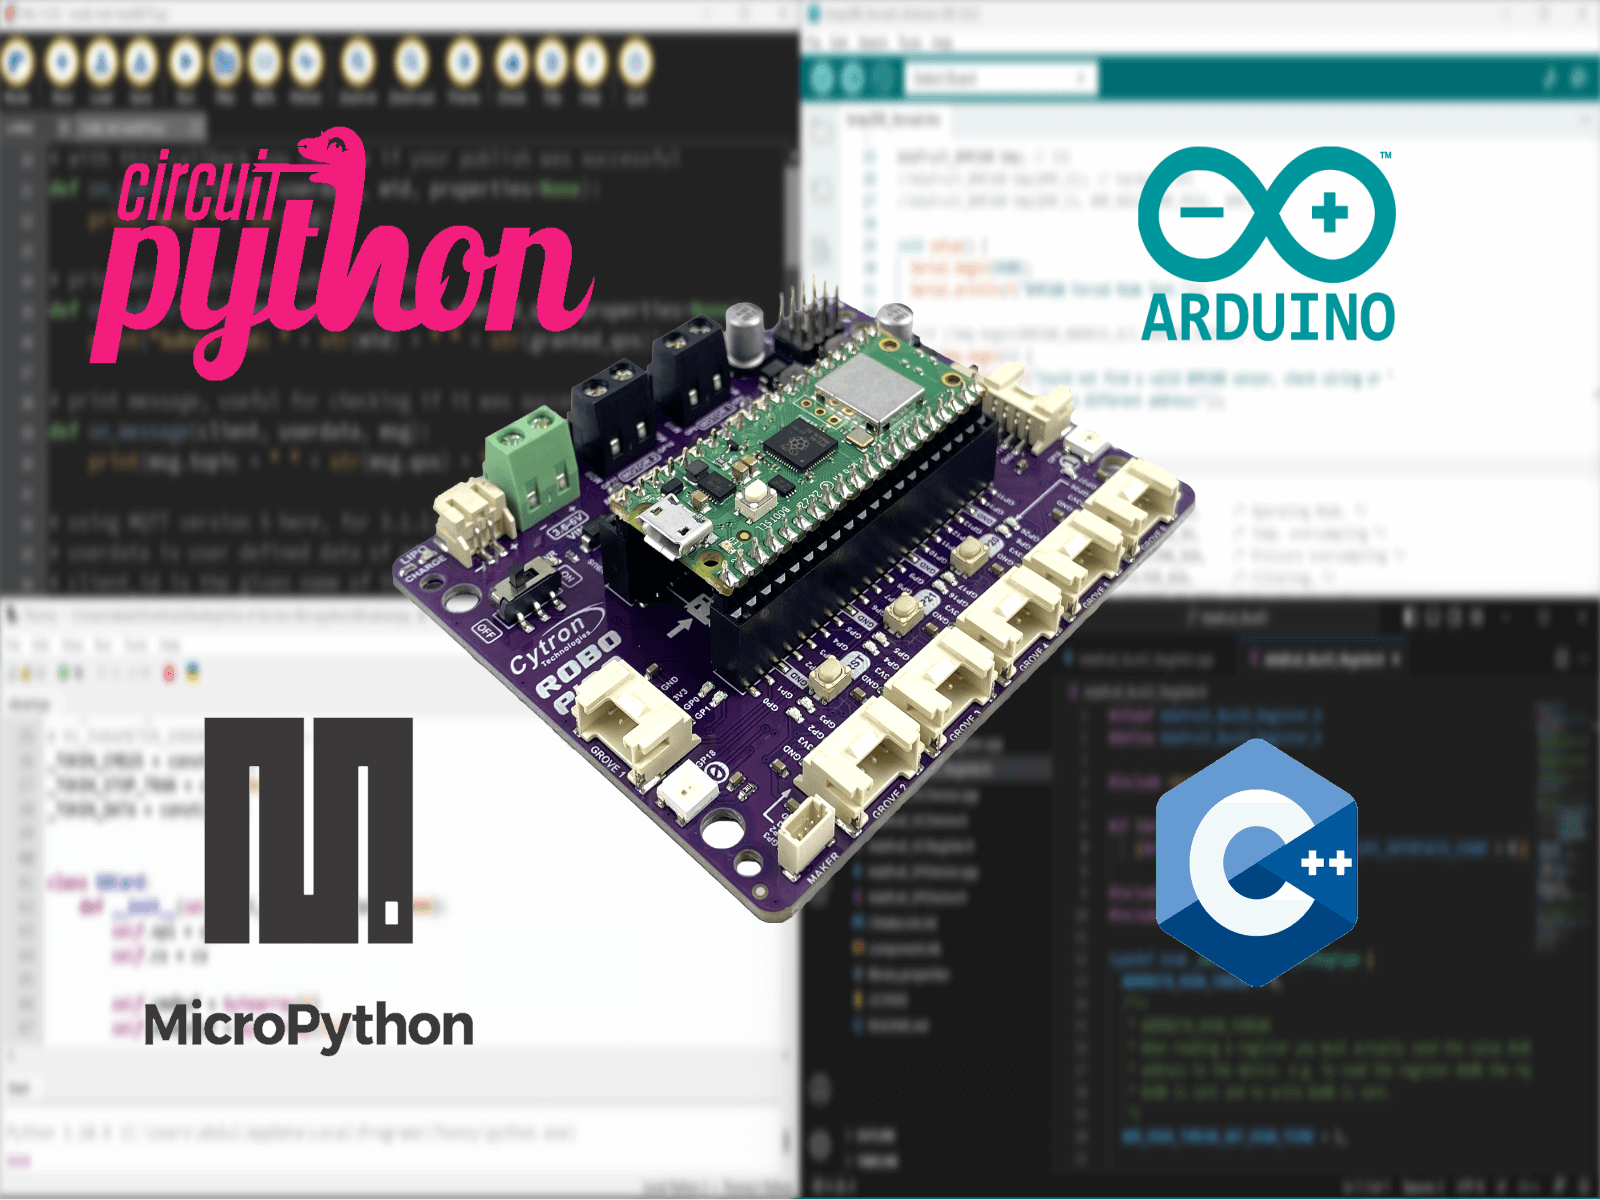
Robo Pico is your platform, whether you're an expert in CircuitPython, MicroPython, or C/C++ or just starting out. Choose the language that best suits you, or take advantage of this opportunity to learn a new one. The Robo Pico is not just about crafting physical projects - it's about evolving your coding prowess too!
Making Learning an Adventure
Robo Pico transforms education into an exciting journey, making it ideal for schools, coding clubs, or self-paced learning. With its comprehensive features and capabilities, learners can grasp the essentials of programming, electronics, and problem-solving in a fun, hands-on manner.
Are you ready to turn your creative dreams into reality? Then it's time to embrace Robo Pico! Let's shape the future together.
What's on the Board?
|
|
Pinout Diagram

Source : Raspberry Pi Documentation : Raspberry Pi Pico and Pico W

Source : Raspberry Pi Documentation : Raspberry Pi Pico and Pico W
Dimension
What is in the Box?
- 1x Robo Pico
- 4x Grove to Female Header Cable
- 1x Transparent Phillips Head Screwdriver
- 1x Silicone Rubber Feet (Pack of 4)
- Robo Pico Datasheet
- Robo Pico Getting Started Guide using CircuitPython (Cytron Tutorial Site) - Coming Soon
- Robo Pico Getting Started Guide using CircuitPython (Github) - Coming Soon
- 3D CAD
- Official Raspberry Pi Pico Page
- Getting started with Raspberry Pi Pico
- Raspberry Pi Pico Datasheet (pdf)
- Raspberry Pi Pico W Datasheet (pdf)
- Raspberry Pi Pico Python SDK
- Raspberry Pi Pico C/C++ SDK

